


How to Decorate Your Kindle
Decorating my Kindle has been one of my favorite crafts thus far. It was so fun and easy to do, and makes me so happy every time I look at it. I’ve gotten so many questions on how I did it, so I’ve made this detailed tutorial and linked all of the cute items I used!
Decorating my Kindle has been one of my favorite crafts thus far. It was so fun and easy to do, and makes me so happy every time I look at it. I’ve gotten so many questions on my kindle decorations, so I made this detailed tutorial and linked all of the cute items I used!
Scroll to see more Kindle accessories, decor, and gadgets! And click pictures to shop.
How to Decorate Your Kindle
What You’ll Need To Decorate Your kindle

Supplies:


My Kindle Decorations:

Kindle options:
")

")

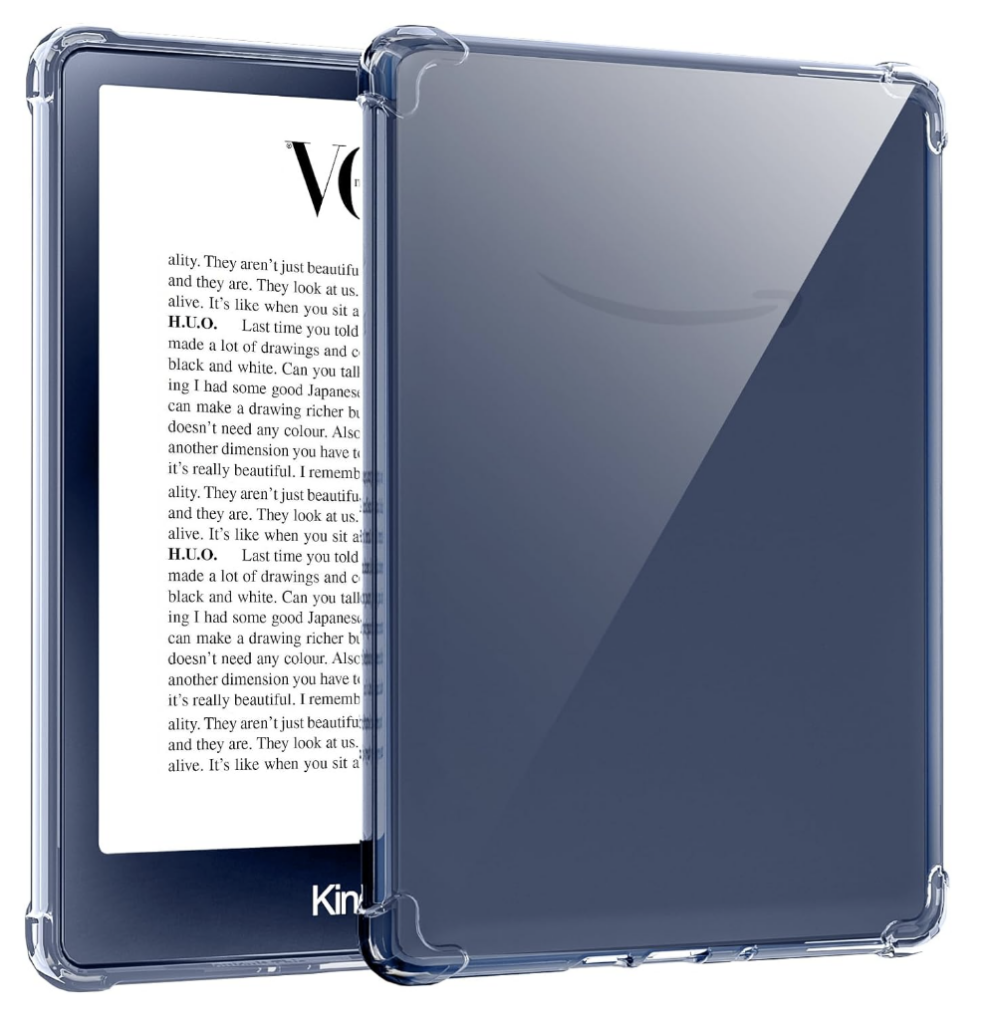
I’m obsessed with my Kindle! However, there are a few other options that include other features. The 2022 version is under $100, and while The Scribe is a bit more, the display is much larger and comes with more features, such as annotating & journaling abilities. There’s also the kids Kindle, which is perfect for your little readers.
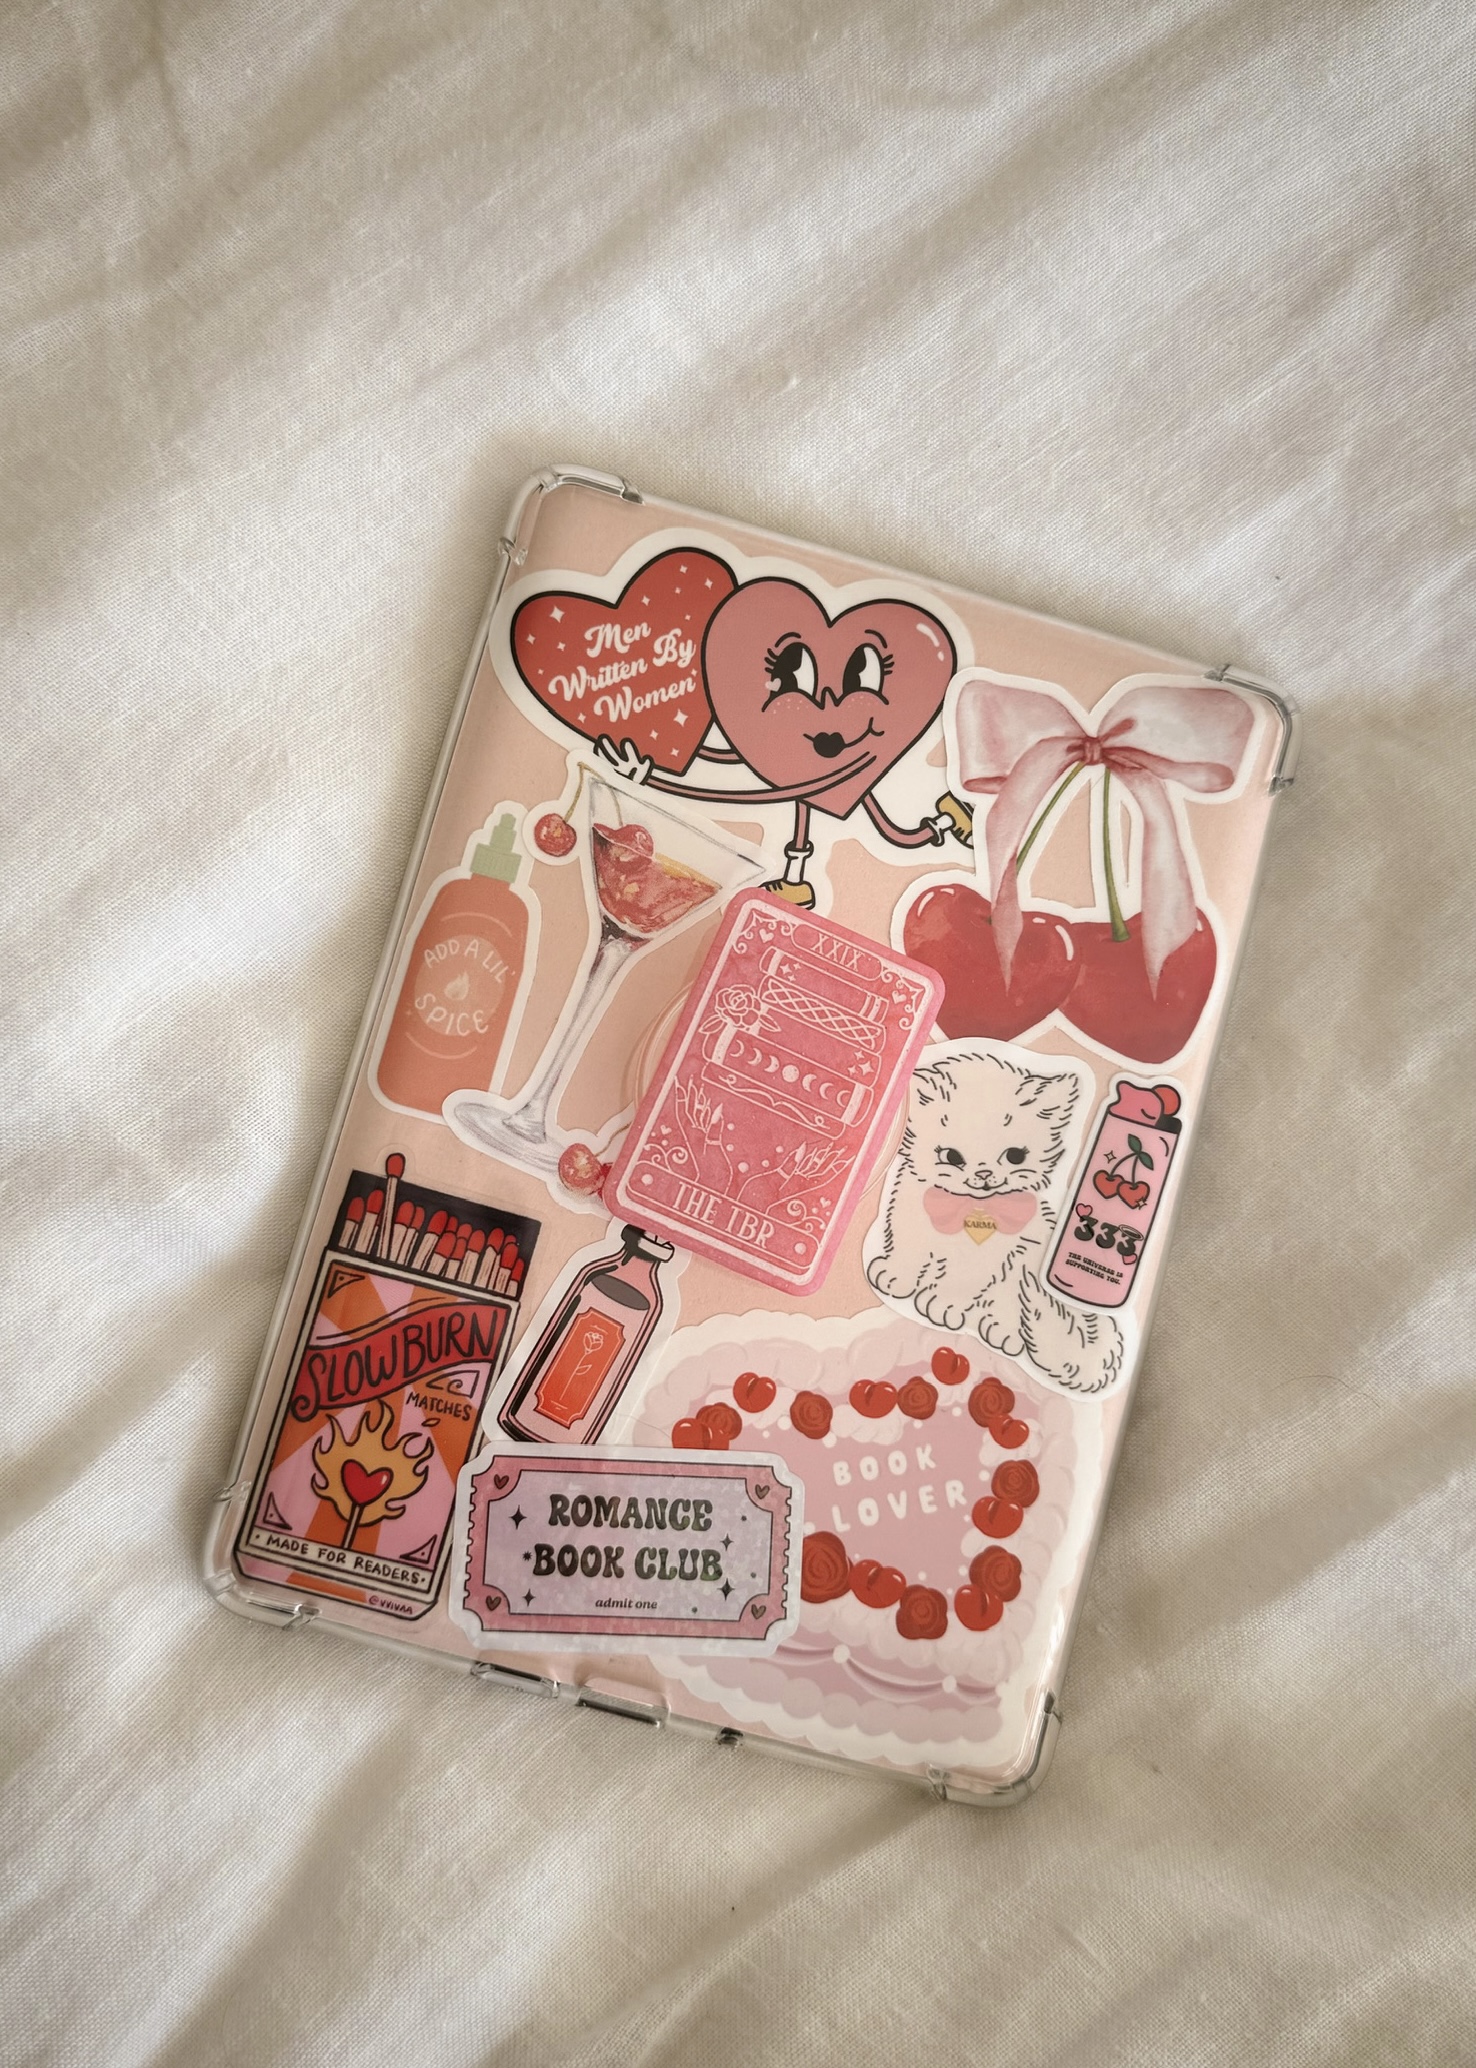
How I Decorated My Kindle
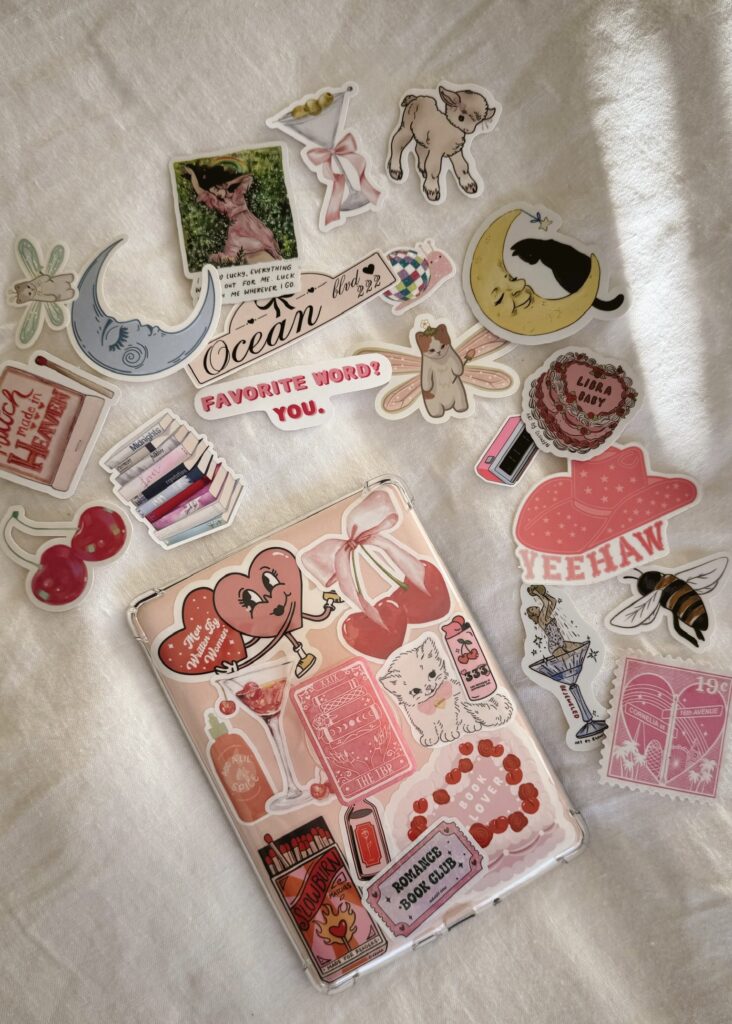
Step 1. plan your Kindle decorations
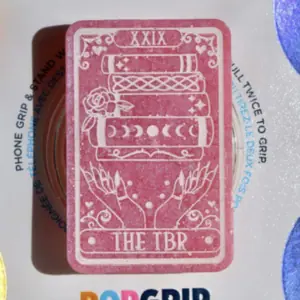
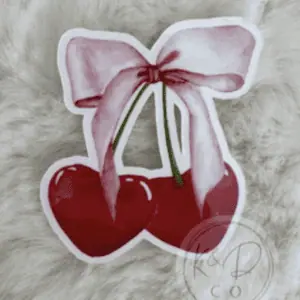
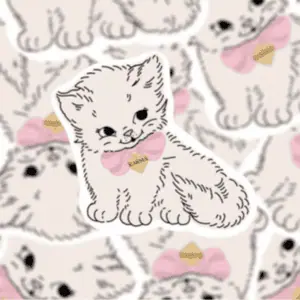
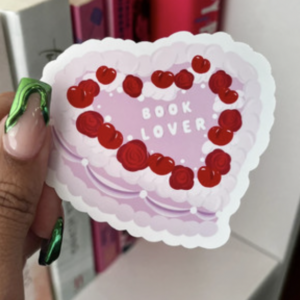
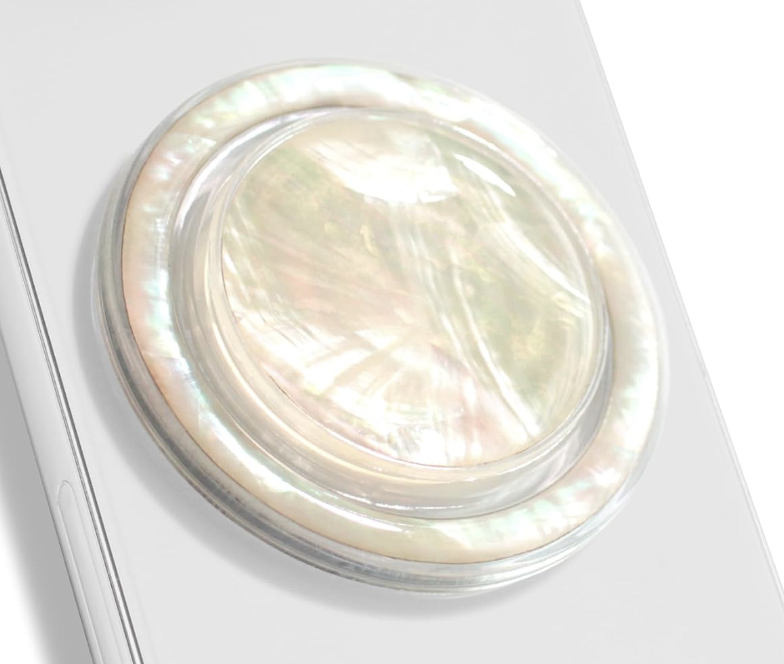
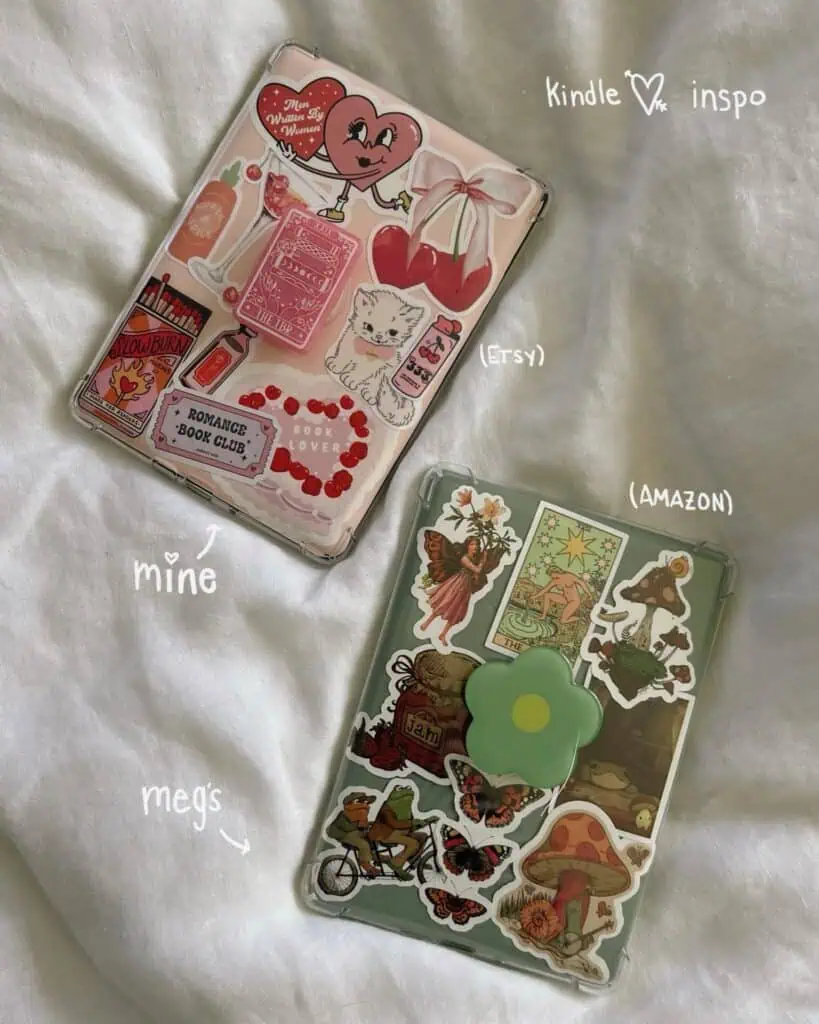
This step is actually really important, especially if you want your stickers to overlap. You want to make sure to keep this in mind when you put the stickers down – in step 3. I found the cutest reading stickers on Etsy! I also decided to use a pop socket because it’s a lot more comfortable to hold. If you decide to go this route, make sure you leave space for the pop socket so you don’t have to cover a cute sticker!

My stickers & pop socket:
See more Amazon and Etsy Kindle decor below.
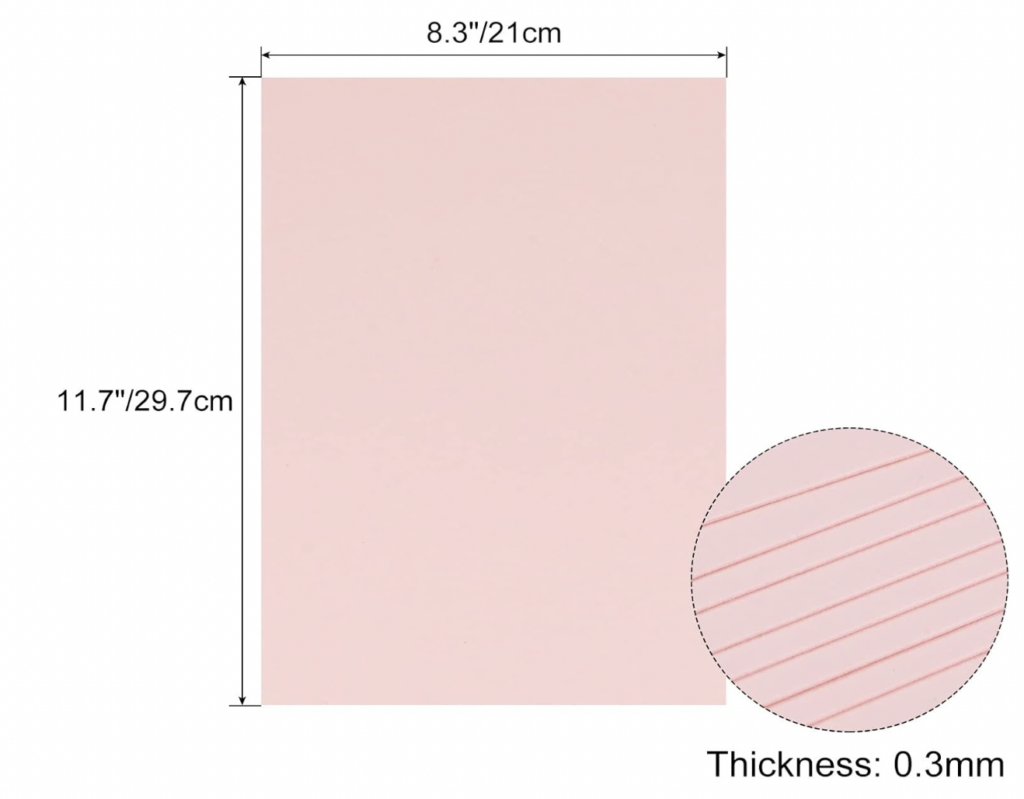
Step 2. cut out your colorful backing
I used the original insert from my Kindle case to cut the perfect sized backing. I used pink construction paper from Amazon, but you can use any paper as long as it’s thick enough to cover the color below and thin enough that the case will close around the Kindle properly. You can tape the sides down to the pink if you want to make sure the paper doesn’t move, however, I found it quick to cut out.
If you want, you could skip this part and put the stickers directly onto your kindle, or you can use a Kindle skin that wraps around the front of it as well. Scroll to see more Kindle skins.

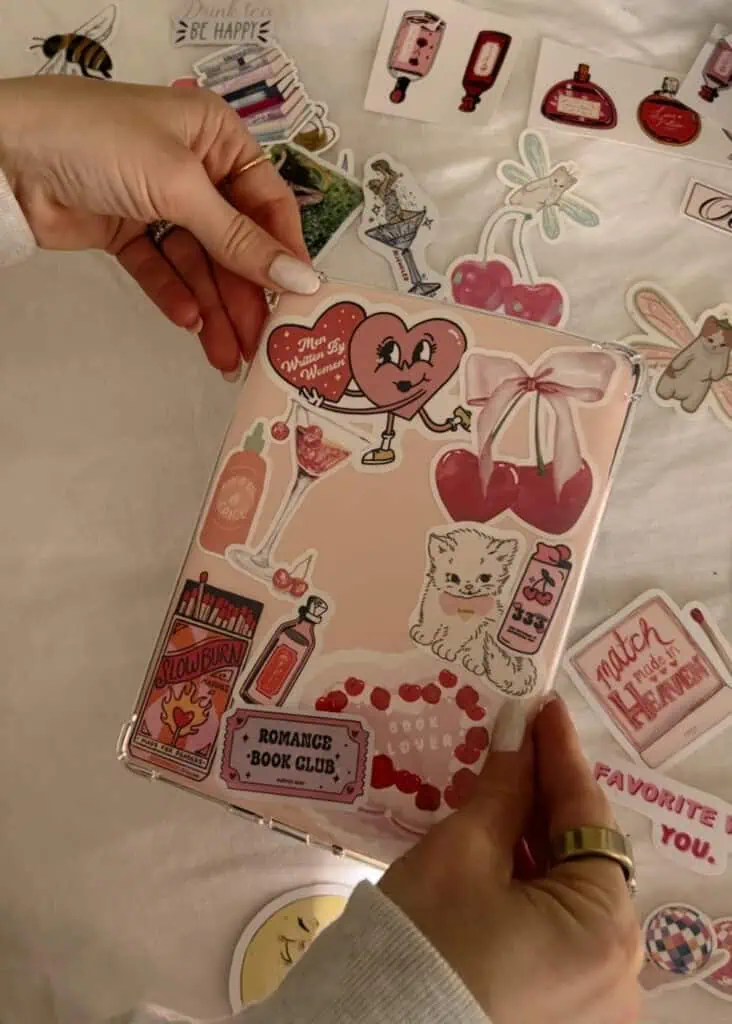
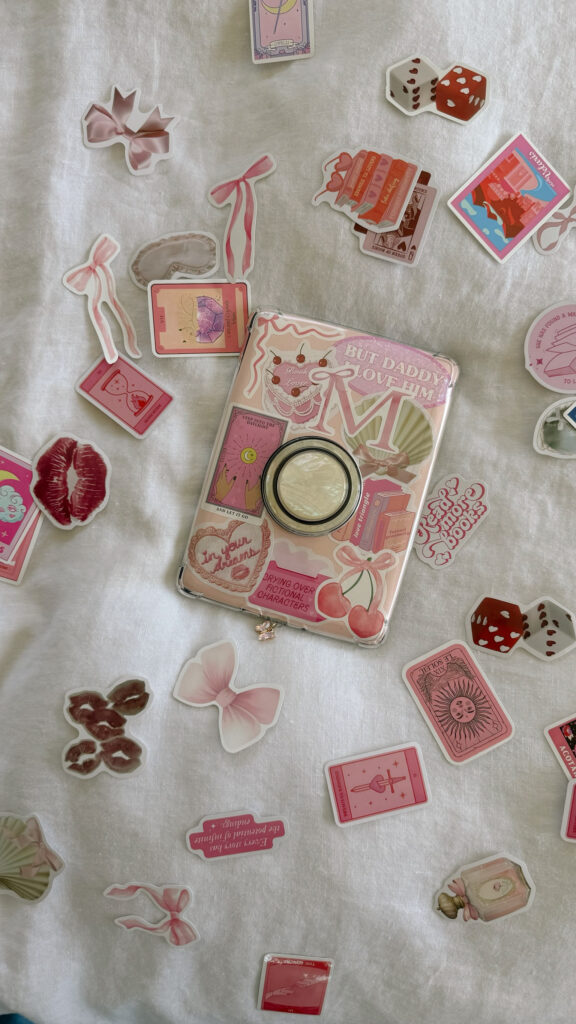
Step 3. put your stickers down
If your stickers are going to overlap, then you want to make sure to lay the stickers down in the correct order of overlap. For example, I planned for the “hot sauce bottle” and “heart character” to be overlapped by the “cherry martini”, so I made sure to the put those two stickers down first. I left all of my stickers in their original plan on the Kindle off to the side, so I could remember the necessary order as I added them to the sheet.
You can also use glue dots or double-sided tape so that you can reuse the stickers later on!

Step 4. add the paper and case onto Kindle
Once the stickers are all placed on the paper, you can put it on the back of the Kindle and then the case over it.
We’re almost there!
Step 5. add pop socket
I placed my pop socket in the middle of the Kindle, but it is removable and reattach-able so that I can put my Kindle into different holders! That’s very important to keep in mind if you want to use holders (seen below).
And just like that it’s all decorated! This was so cute and easy to do, I want to make more decorated papers and then I can switch them out whenever I feel like!

Keep scrolling to see more of my favorite Kindle finds!
More Kindle Decor
Amazon Kindle Decor:


More Amazon Kindle decor:


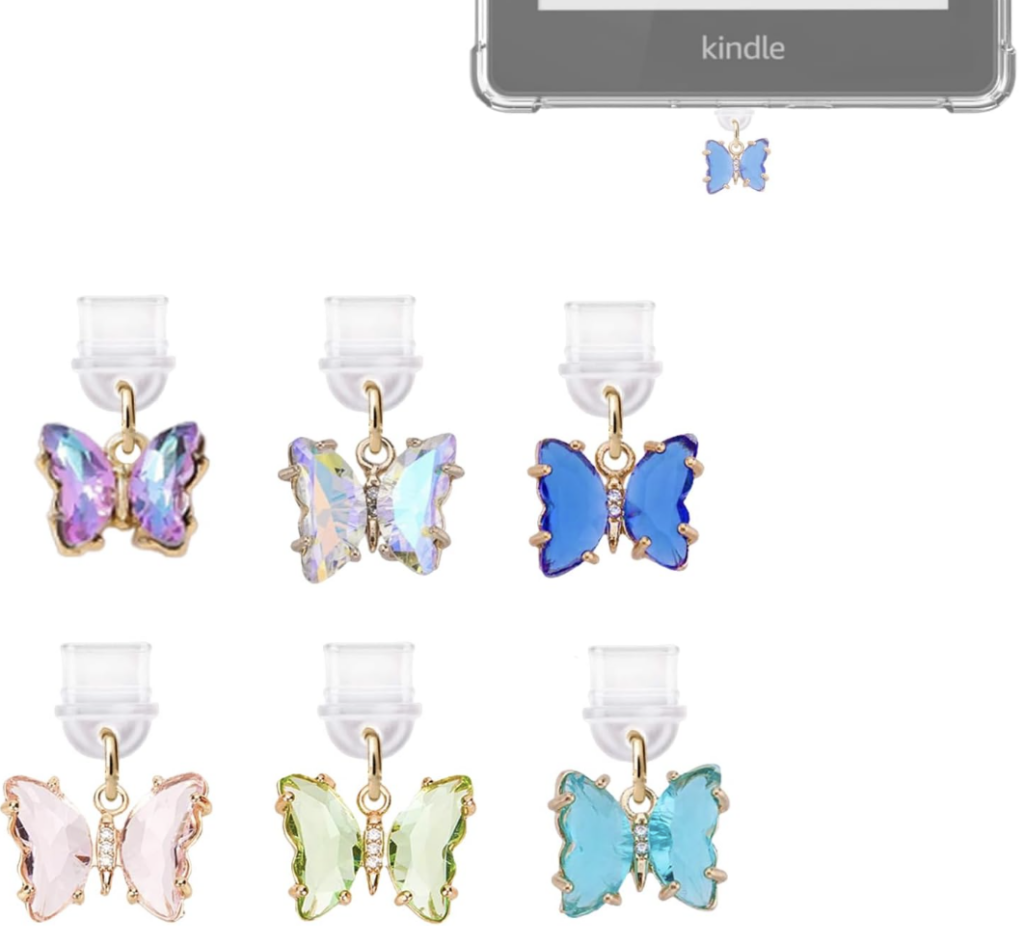
Etsy charms:
More Etsy Kindle stickers & pop sockets:
More Kindle Gadgets

Shop items:


Reading in bed is a true dream, and I’ve found some great gadgets for doing so. This gadget (shown above) can hold your Kindle for you so you can get cozy in bed! And with the Page Turner, there’s a small screen clip that is bluetooth connected a little remote for you to turn the page with ease! See more Kindle holders below.
Shop items:


More Kindle accessories and gadgets:


You might also like