


How to Make Bag Charms
I get asked questions about my collection of bag charms all of the time and people are always shocked that I made them myself! So I’ve decided to put together this tutorial for you so you can learn how to make bag charms at home.

Getting crafty and making things will always be a hobby of mine. It’s such a fun way to relieve stress and express yourself! This creative project is a great way to spruce up your own style and bags, but it also makes for such a special personalized gift. I get asked questions about my collection of bag charms all of the time and people are always shocked that I made them myself! So I’ve decided to put together this tutorial for you so you can get creative and learn how to make bag charms too!
How to Make Bag Charms
This craft can be done so many ways so today, I’ll be explaining all of the different steps and methods to making an adorable DIY bag charm. I’ll also be sharing some tips and tricks that may come in handy for this project as well! You can follow my steps but also feel free to try new things and get creative along the way – because your bag charm should ultimately reflect you and who you are!
What Is A Bag Charm
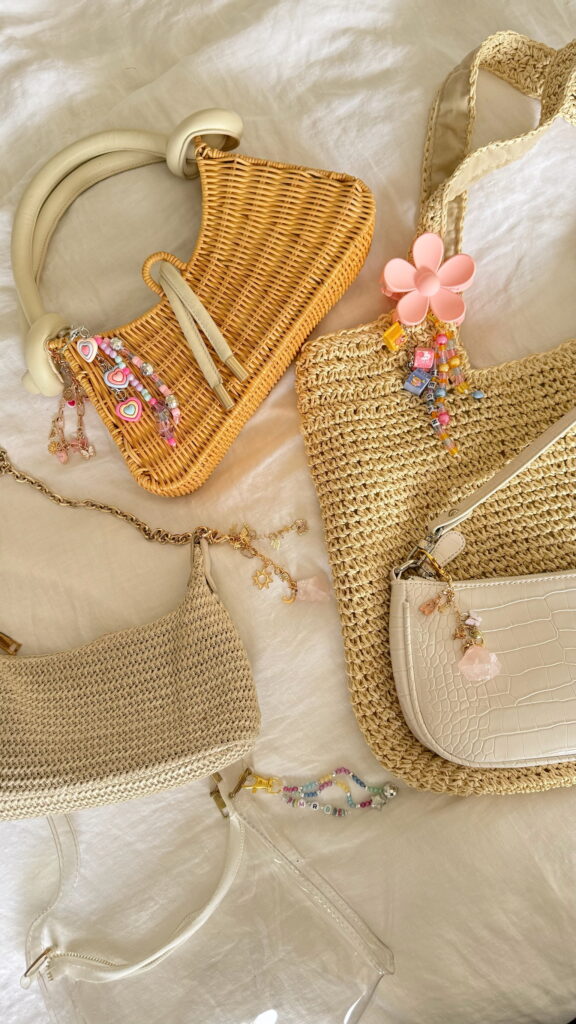
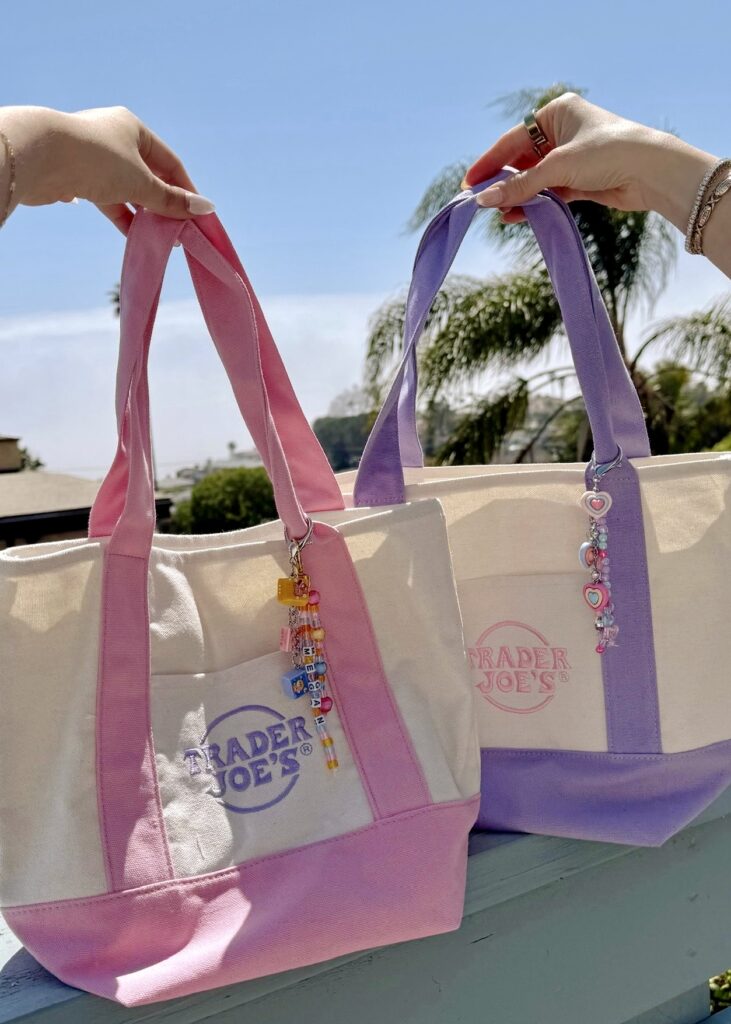
Bag charms are an adorable way to personalize and accessorize your purse or bag! They look so adorable on a handbag, a tote bag, a beach bag, or even a small duffle bag! You can even interchange and display a variety at once.
Watch Me Make Them:
DIY Bag Charm Ideas

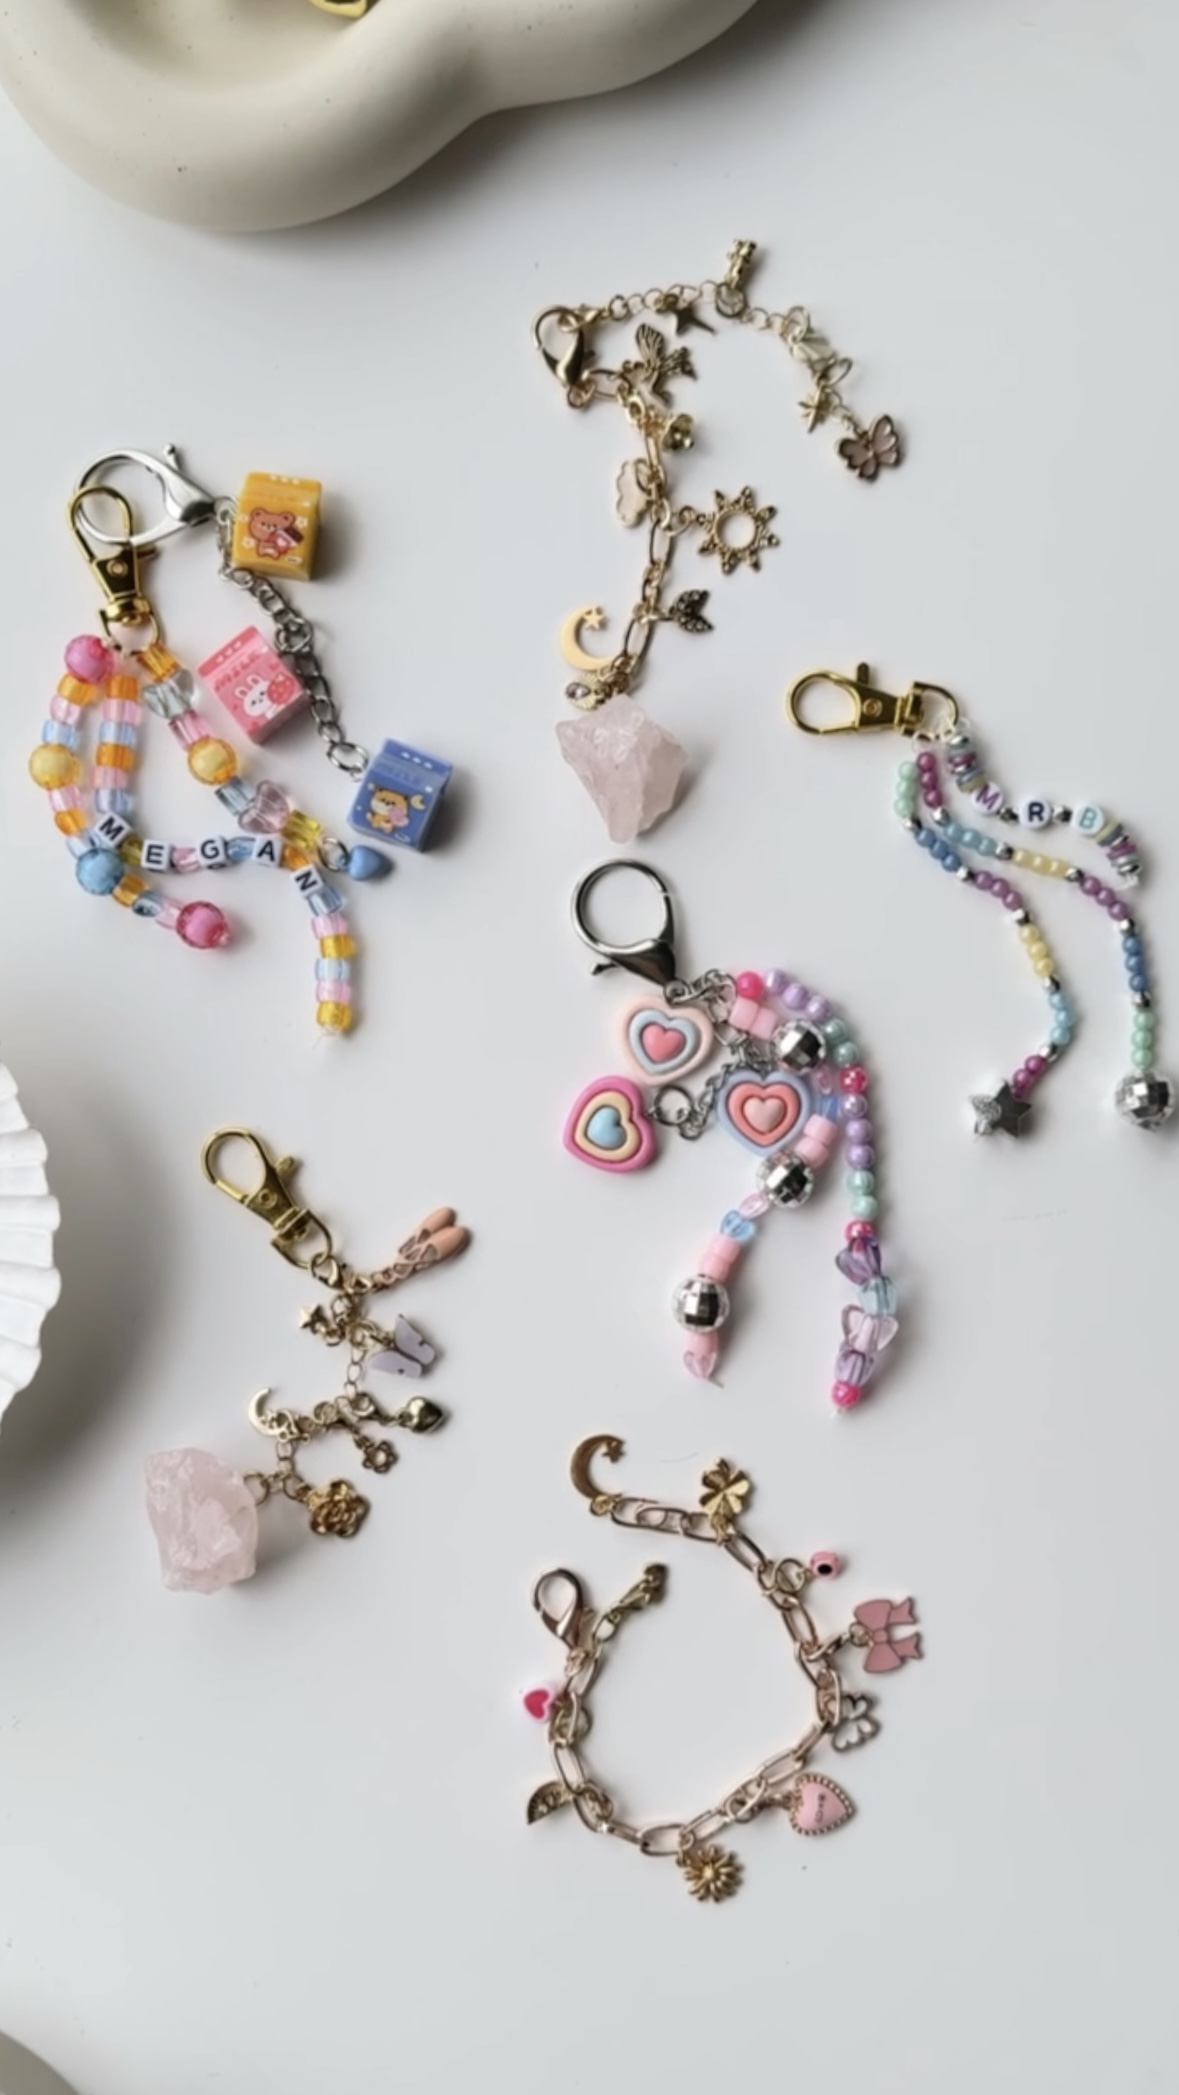
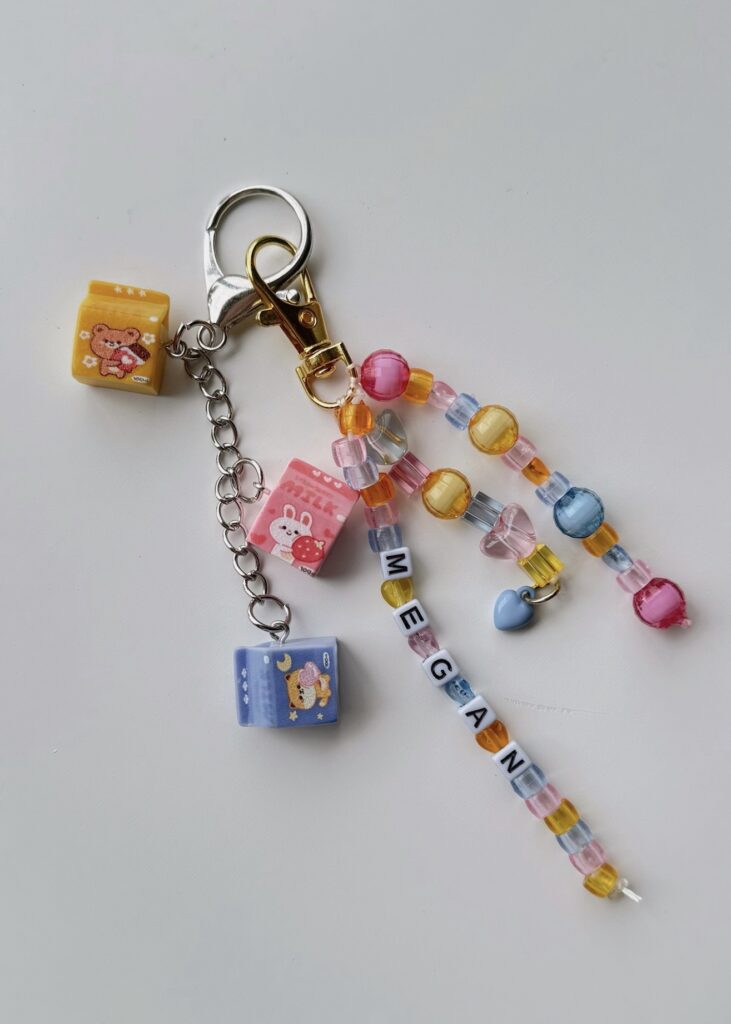
Beaded Bag Charms
This method was so easy and colorful looking. I love how it looks up close and from far away they really catch your eye!
Materials:
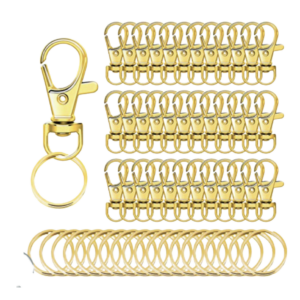
- Hook clips
- Elastic thread
- Jump rings (optional)
- Beads
- Charms (optional)
- B-7000 glue (optional)
Shop Materials:


Cute Beads + Charms:


Instructions:
Step 1 – Tie String to a Jump Ring or Clip Hook
To start your beaded chain, you’ll want to begin your first strand by tying an elastic thread (around .8mm) around the base of your hook clip – or if you tie the strand to its own jump ring then you can customize your bag charms in the future! Tie a knot by folding the elastic thread in half, and threading the string through the hole of the ring or hook, and then thread the open ends of the string through the looped end of the string. Pull tight so it’s closed around the ring. Repeat the process once more so its double knotted. Leave an excess amount of string to tie off at the end.
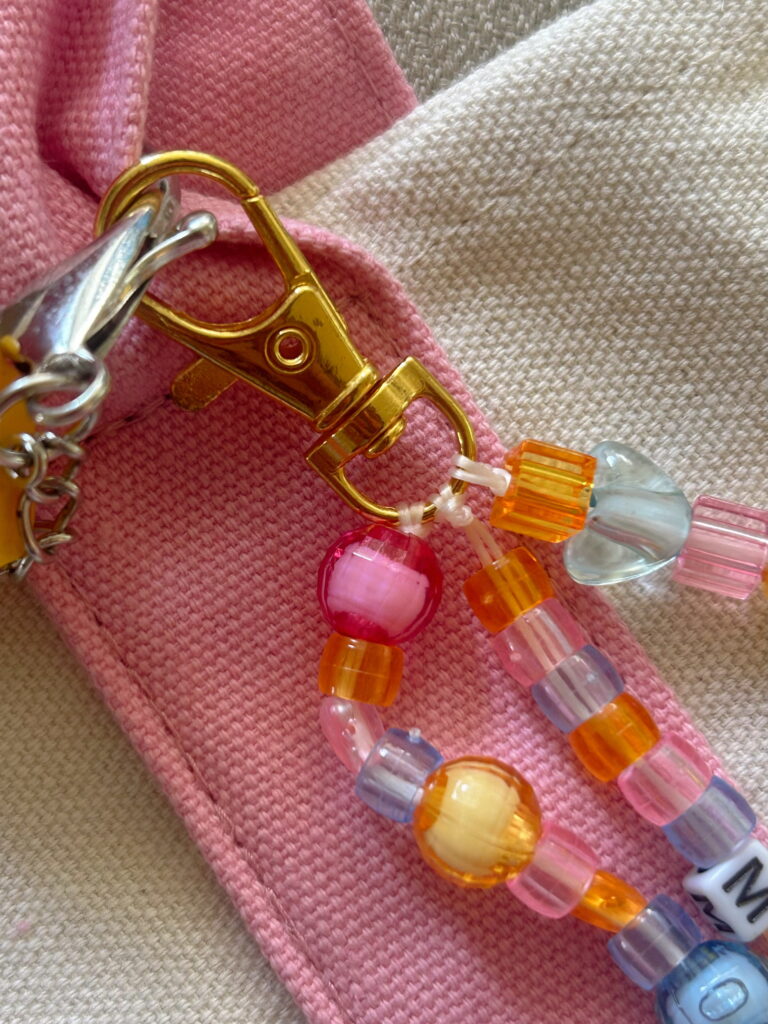

Step 2 – Thread the Beads
I like to first pick out my beads and the order it will go in before I thread any because the pattern might change as you gather cute beads. Once you’re ready, thread your beads through both strings. If you want to use really small beads or seed beads, you can thread them only one of the strings through.
Pro tip:
You can make your strands as long as you’d like but you may want to compare your bag to the strand just to picture what length suits your purse or tote bag. I think it looks best if each finished strand is different lengths.
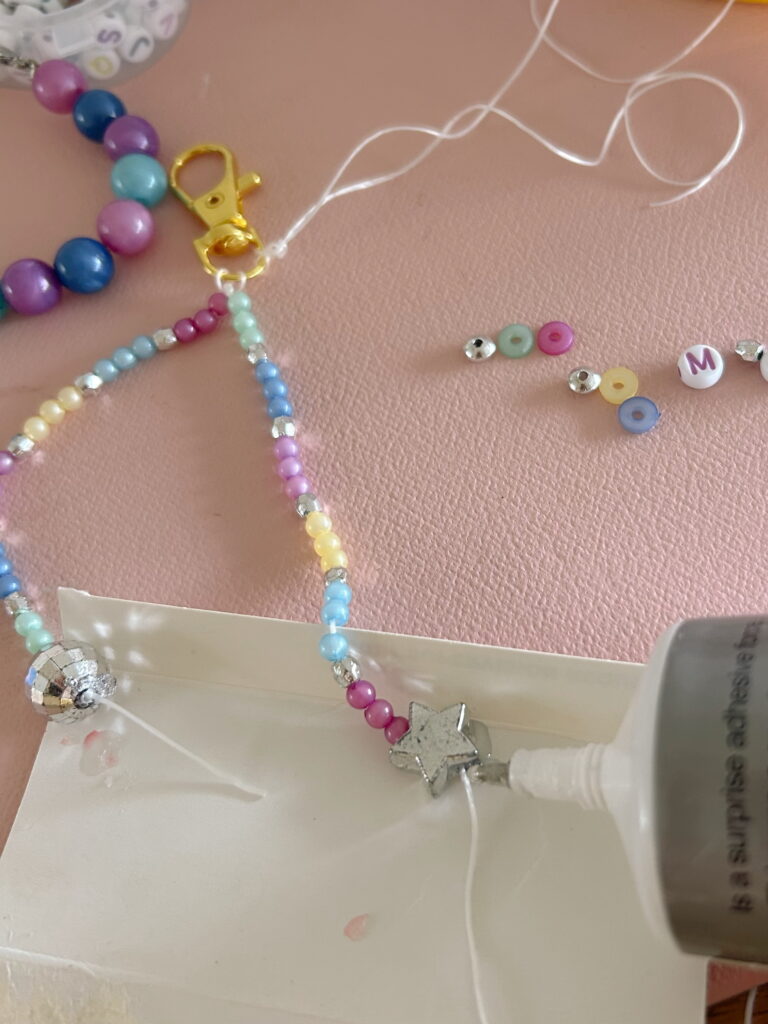
Step 3 – Tie Off the Strand
Using the same knot method from step 1, tie the end of the elastic thread several times so that the knot is bigger than the last bead’s hole. If the bead opening is quite large or you’ve cut the string too short, an easy fix is gluing the end closed with either hot glue or B-7000 glue. Cut the excess.
You can even tie the end of the string to a charm ring as well to end the strand.
Step 4 – Repeat Steps 1-3
Repeat the previous steps until you have as many strands as you’d like! Don’t be afraid to get creative and add whatever embellishments come to your mind. I even added a pre-existing bag charm to one of my beaded chains – if you look closely.
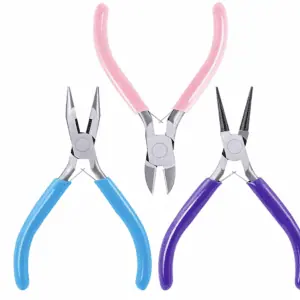
If you attached the beaded strings to a jump ring, now is the time to attach the jump rings to the base of your hook clip using pliers.
The beaded charms turned out so cute and fun! I added one of them to my purse along with a charm chain one as well, and the duo is so perfect for summer. They’re not only cute on a small handbag, but they’re also adorable on a bigger tote bag as well!


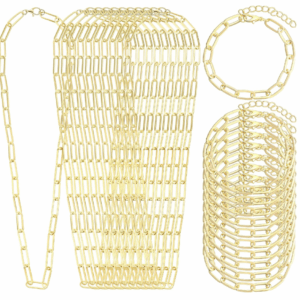
Charm & Chain Bag Charms
This method is so adorable too – I’m not sure which I like more! They are definitely have more of a “bling” appeal and it was so fun to pick out these adorable charms.
Materials:
Shop Materials:


Cute Beads + Charms:
Instructions:
Step 1 – Create Chain
You can start with a pre-made bag charm chain, a bracelet chain, a jewelry extender chain, etc. Using pliers and jump rings, make your strand the desired length and attach to your hook clip (or use the one that’s attached if applicable). Attach your jump rings and hooks by prying them open with pliers and then hooking it onto the chain, and then you can close the ring with the pliers once more.

Pro tip:
You can make your strands as long as you’d like but you may want to compare your bag to the strand just to picture what length suits your purse or tote bag. I think it looks best if each finished strand is different lengths.
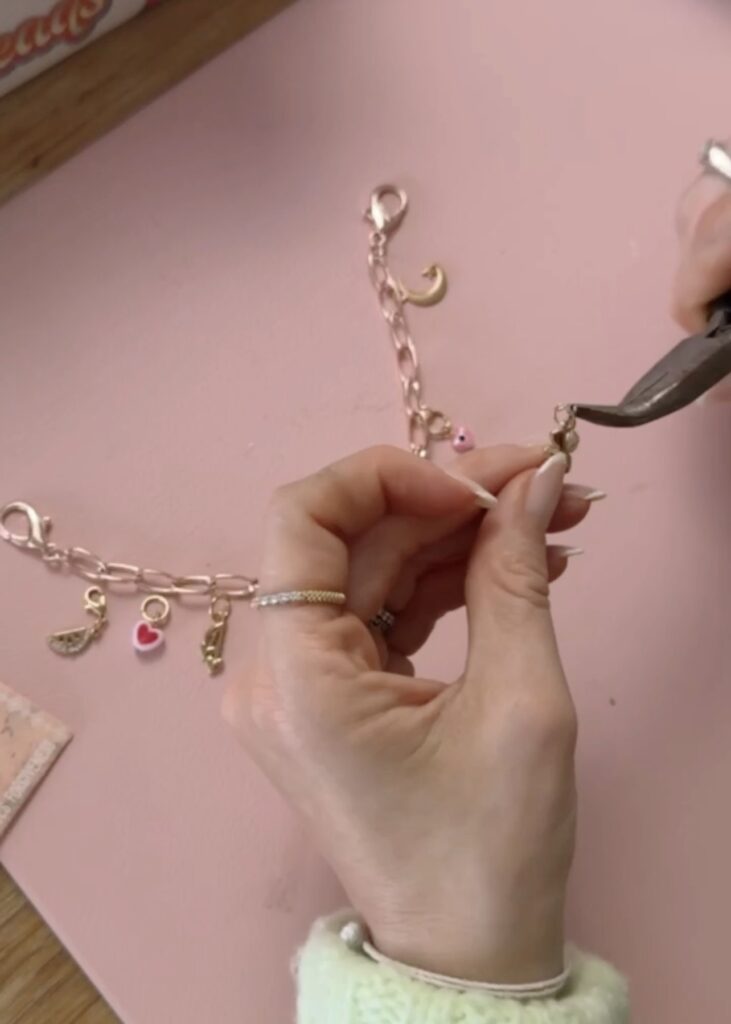
Step 2 – Add Charms
Add charms of all sizes and shapes. You can follow whatever color scheme or theme you’d like! Attach your charms to a jump ring and then hook it onto the chain and close it. It’s best to separate them slightly and evenly on the chain. Be sure to add a couple larger ones so that your bag chain really pops!
Step 3 – Repeat Steps 1-2
Repeat steps 1-2 until you have as many strands as desired! Be sure they’re all attached to the main hook clip and you’re ready to go.
OR you can make it how I did in this picture. You can attach both hooks to one side of your purse, or if you make the chain long enough, you can attach each clip to each side of your purse and display it across the front of bag instead!
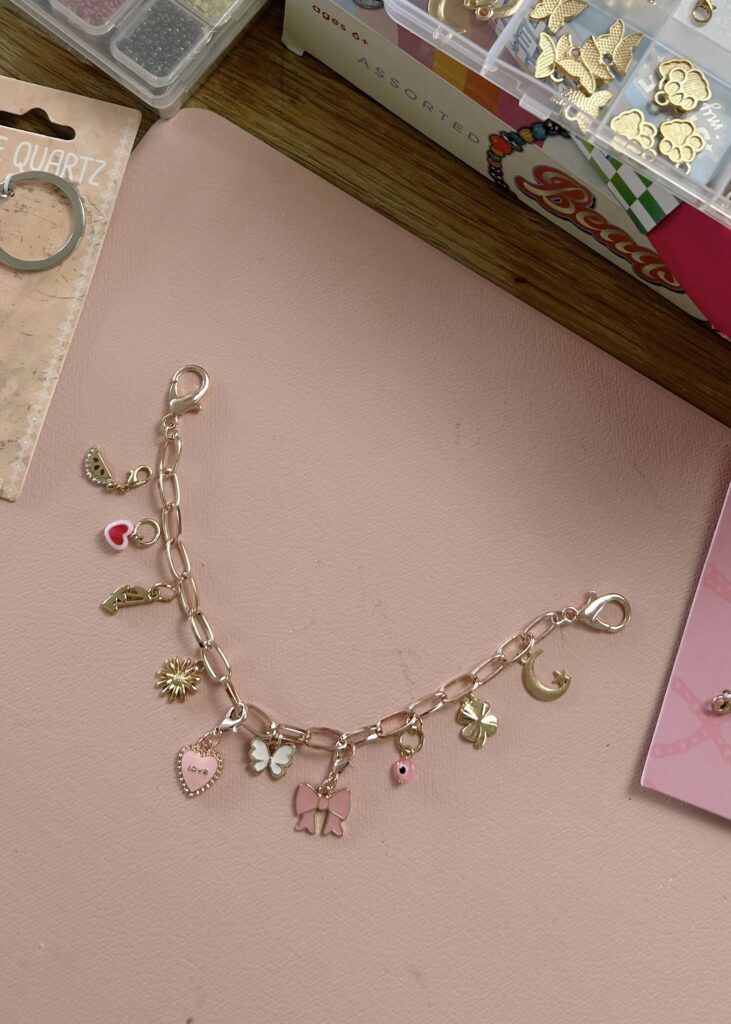
Making bag charms with chains and charms was such a cute method for this project as well! I truly can’t decide which style I liked more but they were all so much fun to make and looked so stylish.


More Craft Ideas

How to Make Lip Gloss Keychains
Step by step instructions for DIY lip gloss keychains and everything you need to make them! I got most of my supplies from Amazon. They make for such a cute, thoughtful, and affordable gift idea! I had so much fun with this craft – it’s perfect for a girl’s night in.
Detailed Tutorial:
How to Make Seashell Hair Clips
Step by step instructions for DIY seashell hair clips! I got everything from Amazon and had so much fun doing this with my friends.
Detailed Tutorial:

You might also like