


How to Make Cute Bookmarks
This project is for my book girlies! I’ve been wanting to do this craft all summer long and I finally got acrylic bookmarks to make super cute bookmarks with my friends!


This project is for my book girlies! I’ve been wanting to do this craft all summer long and I finally got acrylic bookmarks to make super cute bookmarks with my friends! Crafting with my girls has been so fun and therapeutic, I can’t wait to see what fall craft ideas we come up with.
Scroll to shop the items and learn how!
How to Make Cute Bookmarks
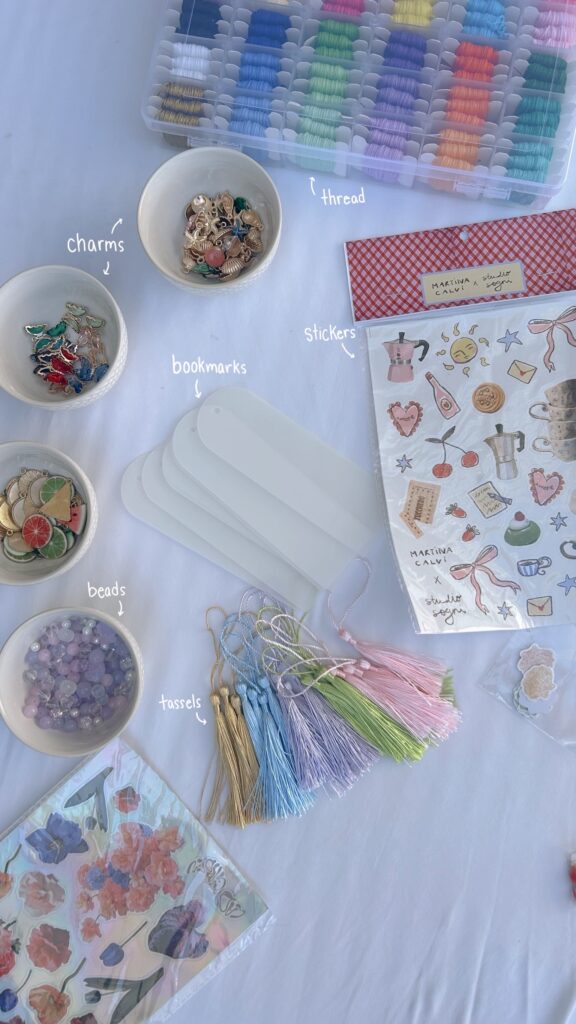
What You’ll Need
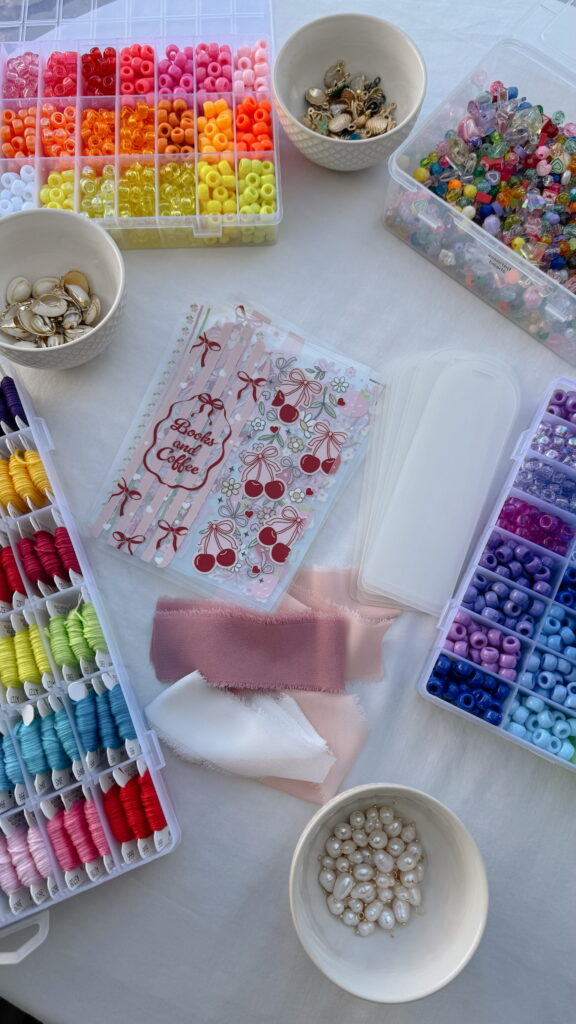
The acrylic bookmarks and tools are all Amazon finds! I already had cute charms and stickers from Amazon and Etsy that I used for this project. But I also found bookmark wraps from Amazon that are so much fun too! Scroll to shop what we used + more cute items!
Method #1
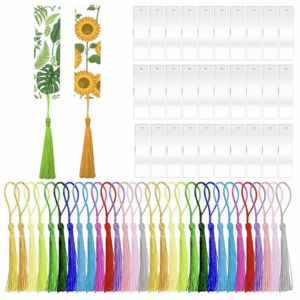
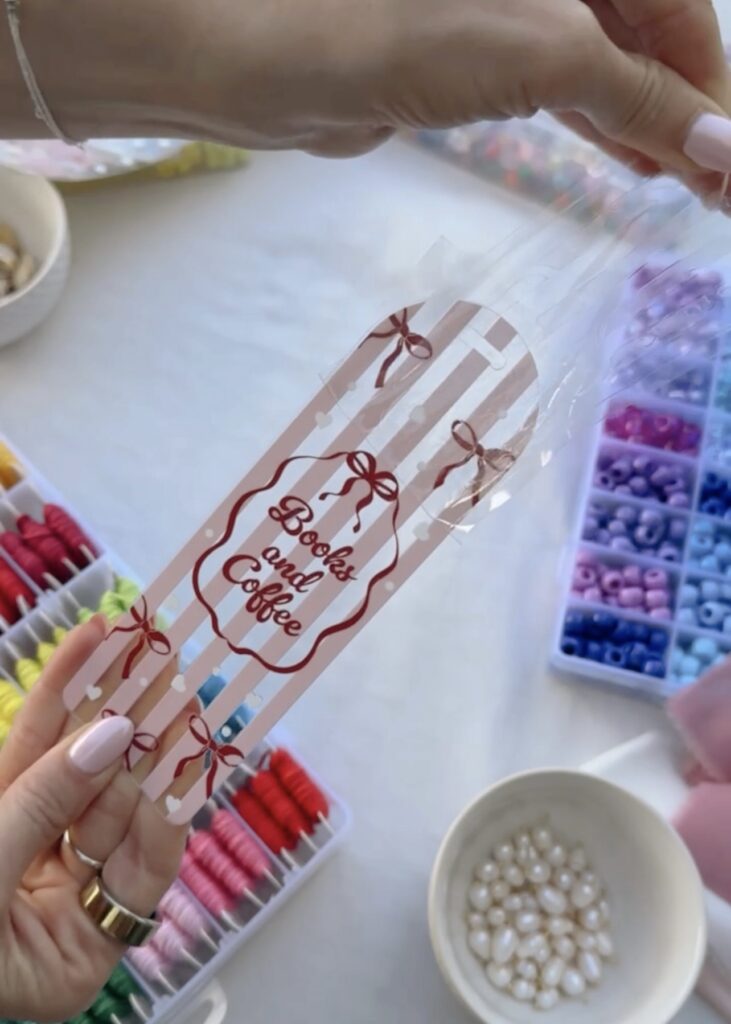
I found the cutest bookmark wraps on Amazon and they’re so summery! I thought it’d be so much fun to use them for a summer girls night with my book loving friends.
Bookmark Kit & Tools:


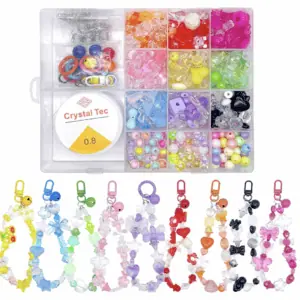
Charms & Beads:


Step 1 – peel the plastic coating off
Peel off both sides of the acrylic bookmark. Set aside.
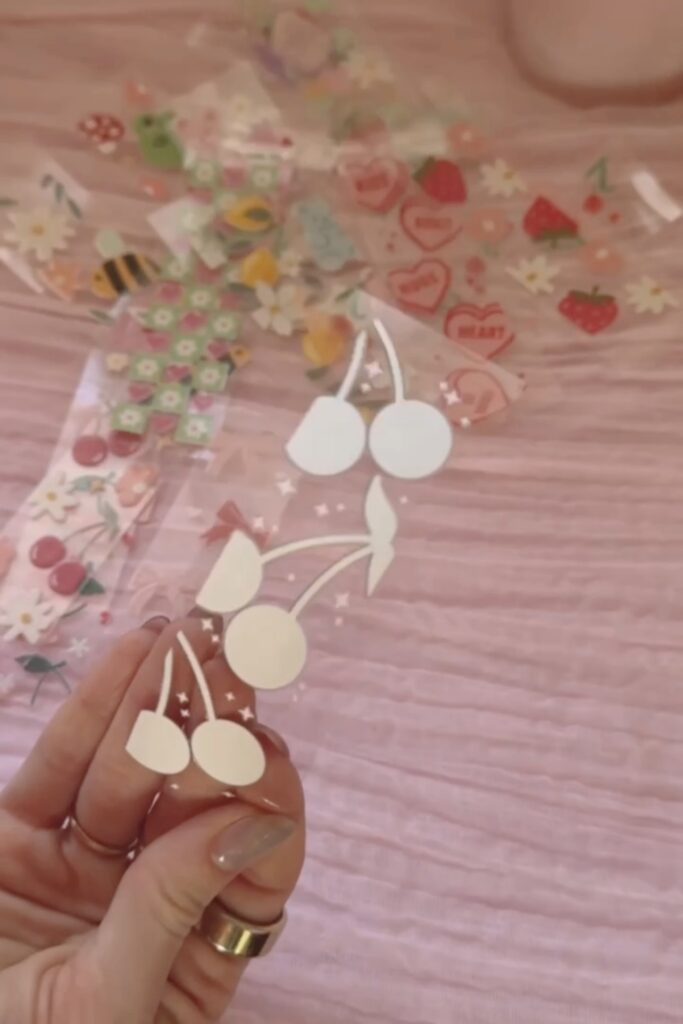
Step 2 – pick a bookmark sticker wrap
Peel the backside off of the bookmark sticker wrap.


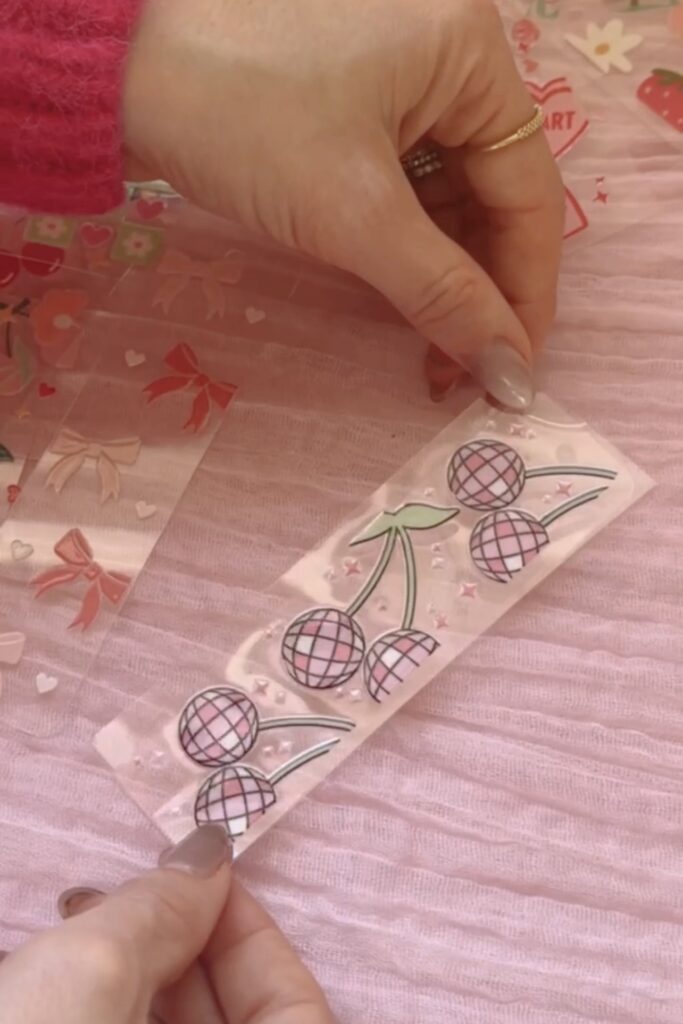
Step 3 – carefully center the sticker on the bookmark
Avoid covering the hole and placing the sticker off of the edge of the bookmark. Press it down firmly to make sure it’s fully adhered.
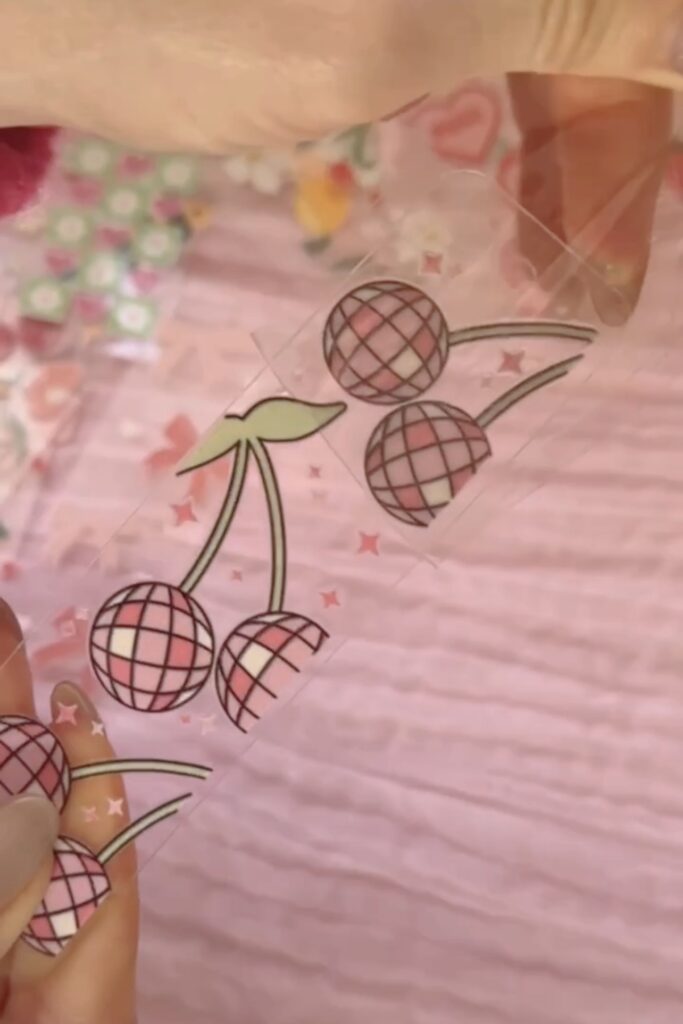
Step 4 – peel the top layer of clear plastic off of the sticker
Leaving behind the cute designs.

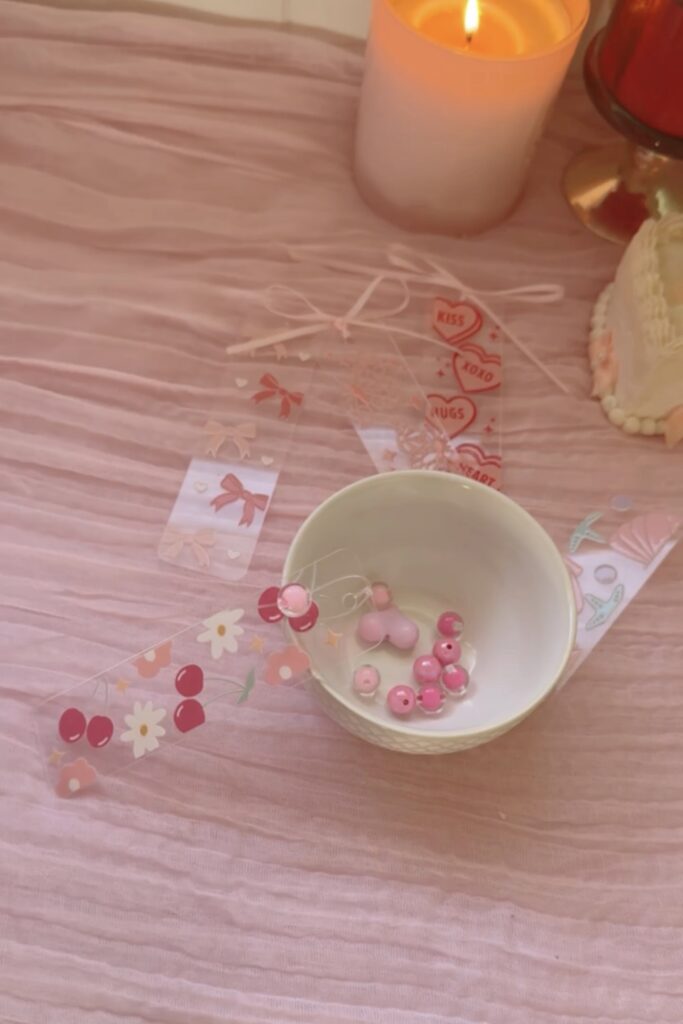
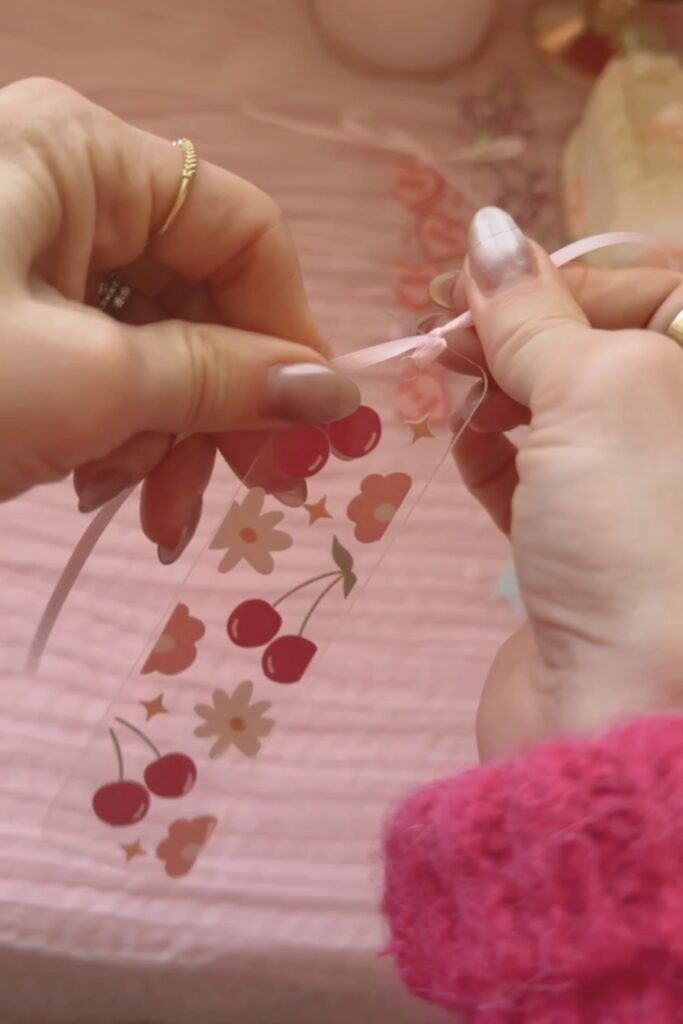
Step 5 – add ribbon or charms
You can loop clear elastic string or ribbon through the hole and tie a double knot. Add the beads onto the string and tie a thick knot at the bottom to stop them from falling off.
You can also tie the ribbon into a bow, or add a tassel!

How to create a bead chain
For this part, start with 12-20 inches of elastic thread. I used .8mm elastic but other materials or sizes work too. When cutting the string, leave a lot of excess, otherwise it can be really hard to tie the knots at the end. Next, make a slipknot (this TikTok tutorial by user Knits and Bits was super helpful if you don’t know how to tie a slip knot) and adjust it to pinky width.
Then, tie 2 knots using both ends of the thread, gathering them around the slipknot. Next, you’re going to add the beads through both strings (depending on size, I used 12-15). Keep in mind, you want it to be longer than the tassel by a couple inches.
Once the beaded chains are complete, knot the end twice using both strings, making sure the knot is bigger than the bead directly next to it so they won’t fall off. I used elastic from my bead box but you can buy them separately too or use colored thread. Attach the keychain to the tassel using a ring and pliers.
Method #2
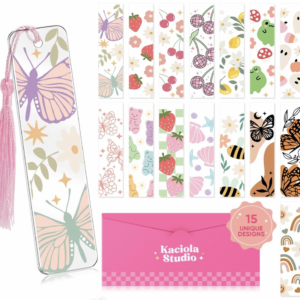
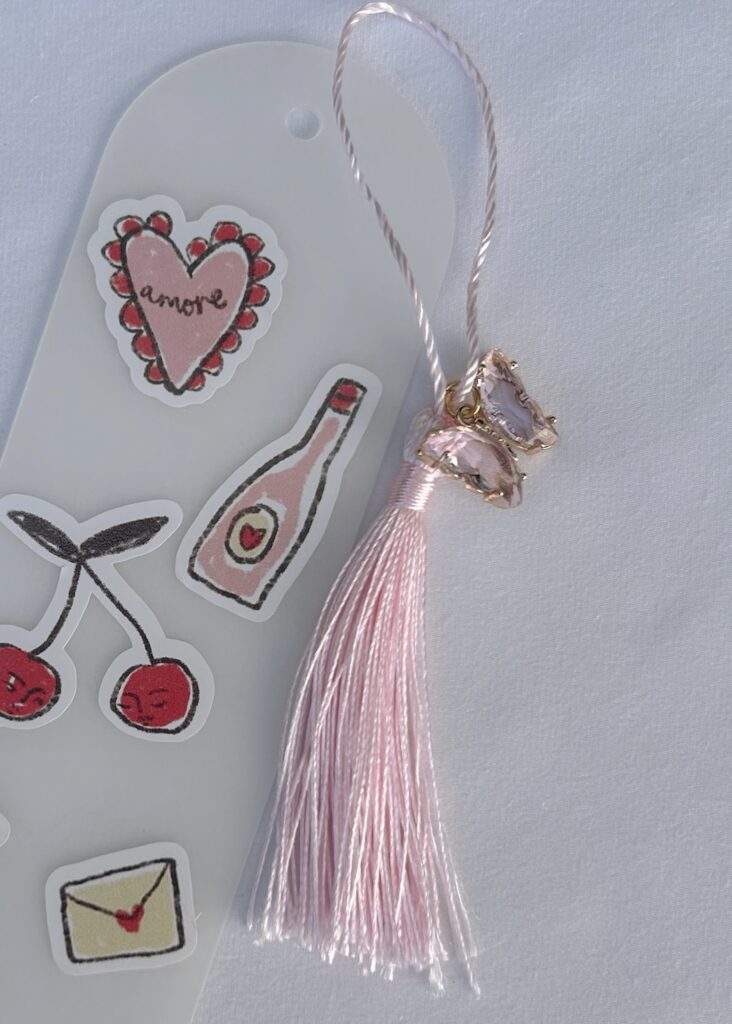
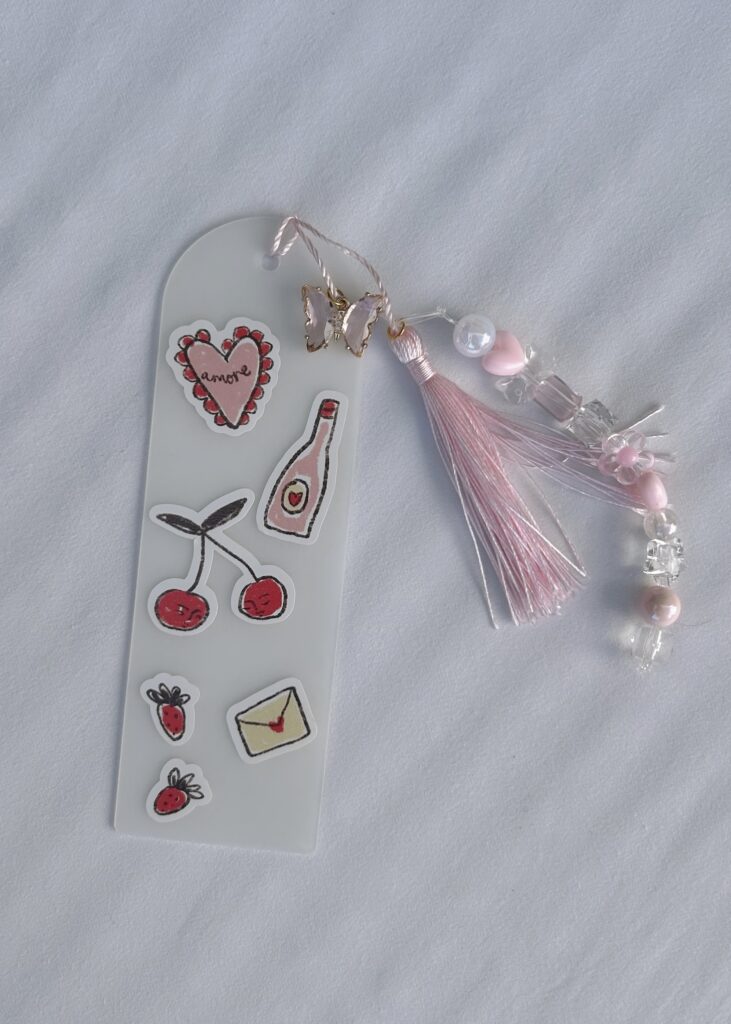
I found the cutest bookmark wraps on Amazon for Valentine’s Day and couldn’t resist trying them out. I grabbed more bookmarks – and they’re the perfect fit for these exact wraps! So I recommend using these or finding ones of the exact same size.
Stickers:


Charms & beads:
Bookmarks & tools:


How to Make Bookmarks
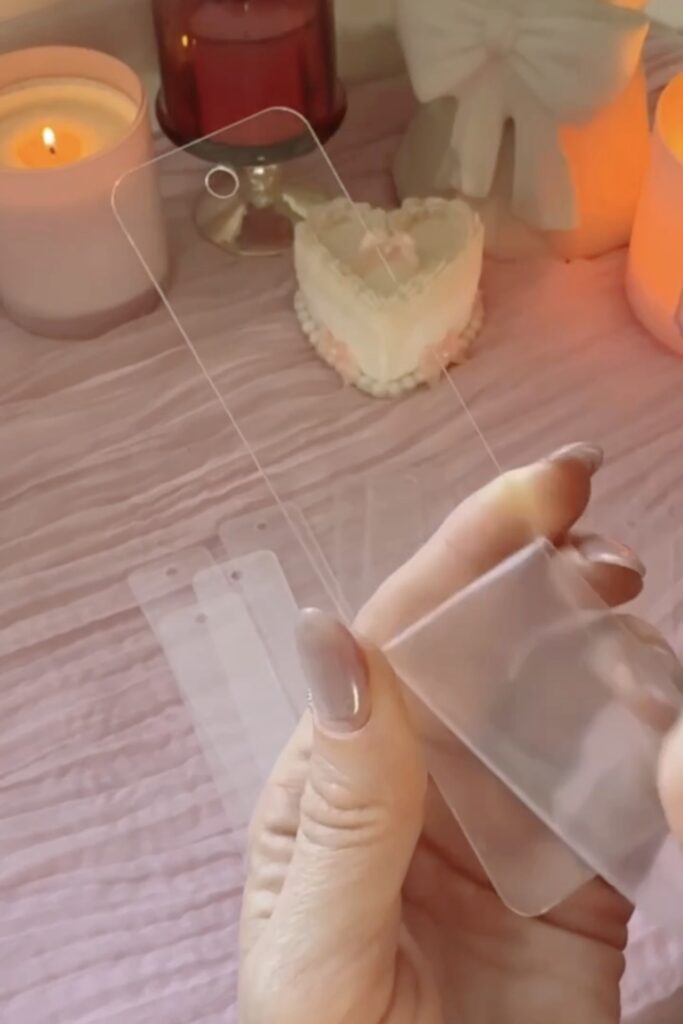
Step 1 – peel the plastic coating off of both sides of the acrylic bookmark.
Set aside.
Step 2 – peel the backside off of the bookmark sticker wrap.
Step 3 – carefully center the sticker on the bookmark.
Avoid covering the hole and placing the sticker off of the edge of the bookmark. Press it down firmly to make sure it’s fully adhered.
Step 4 – peel the top layer of clear plastic off of the sticker, leaving behind the cute designs!
Step 5 – add ribbon or charms.
You can loop clear elastic string or ribbon through the hole and tie a double knot. Add the beads onto the string and tie a thick knot at the bottom to stop them from falling off.
You can also tie the ribbon into a bow! Or use the tassels that came with the bookmarks.
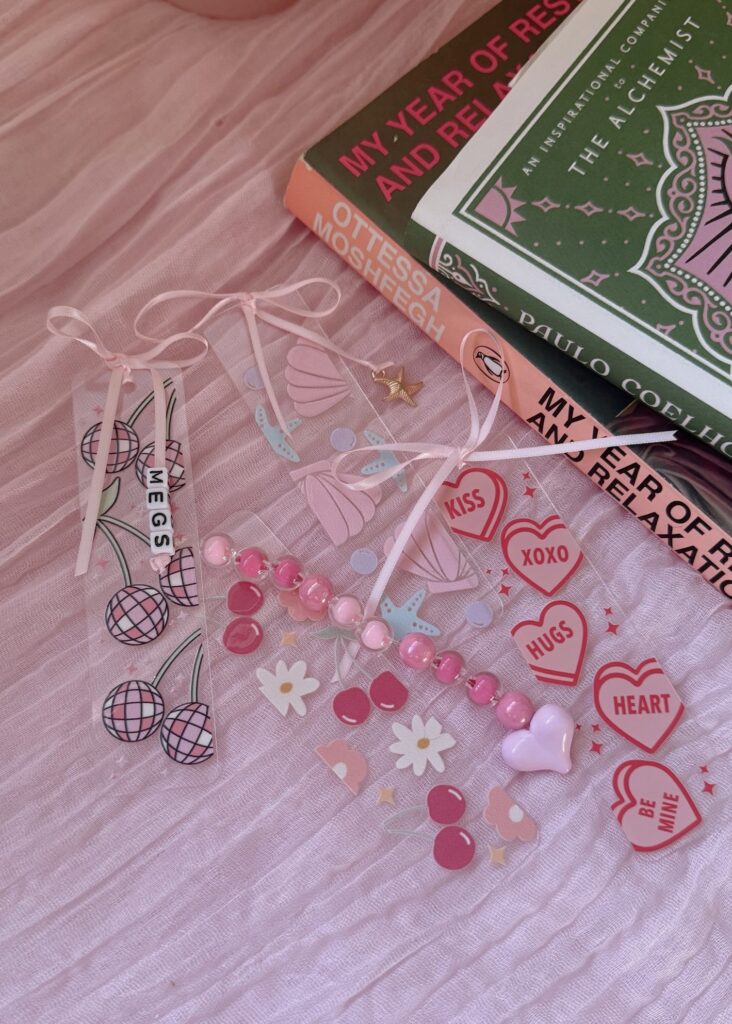
Your end product can look many ways and it’s so fun to explore all of the possible options! Let yourself be creative and see what you can come up with.


Method #3
When I made bookmarks for the first time in the summer, I did it a little differently! I’ve included all of items and steps below.
Charms & beads:


Stickers:


Bookmarks & tools:


Step 1 – select bookmark and tassel
You can peel the plastic off the acrylic bookmark if you want it to be transparent (shown above).

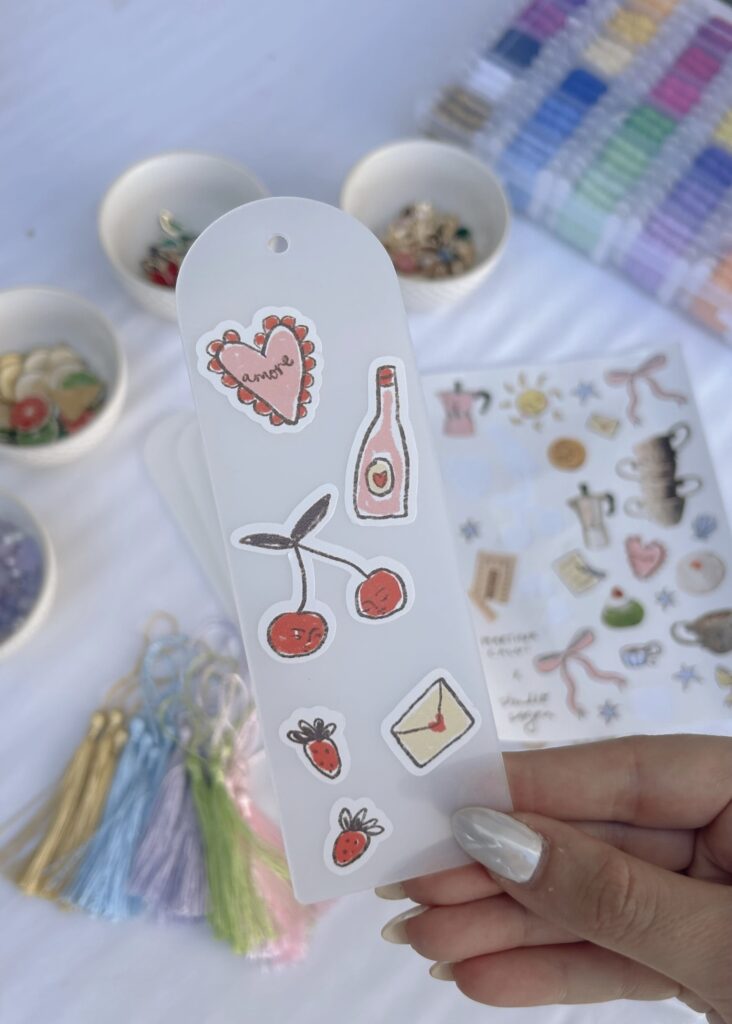
Step 2 – decorate with stickers.
This part is so fun! You can really do anything. You could even decorate the back of it since it’s opaque! It would even be cute to print a quote from your favorite book on the other side or create a book log on the back of it!
Step 4 – create bead chain.
For this part, start with 12-20 inches of elastic thread. I used .8mm elastic but other materials or sizes work too. When cutting the string, leave a lot of excess, otherwise it can be really hard to tie the knots at the end. Next, make a slipknot (this TikTok tutorial by user Knits and Bits was super helpful if you don’t know how to tie a slip knot) and adjust it to pinky width.
Then, tie 2 knots using both ends of the thread, gathering them around the slipknot. Next, you’re going to add the beads through both strings (depending on size, I used 12-15). Keep in mind, you want it to be longer than the tassel by a couple inches.
Once the beaded chains are complete, knot the end twice using both strings, making sure the knot is bigger than the bead directly next to it so they won’t fall off. I used elastic from my bead box but you can buy them separately too or use colored thread. Attach the keychain to the tassel using a ring and pliers (same as in step 3).
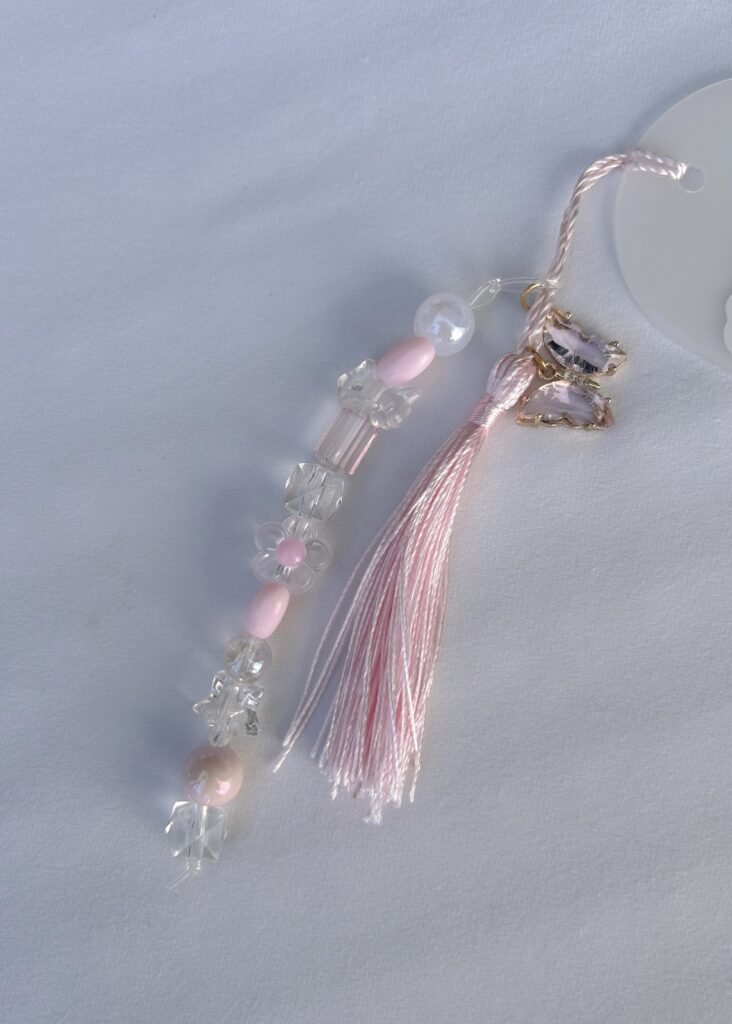
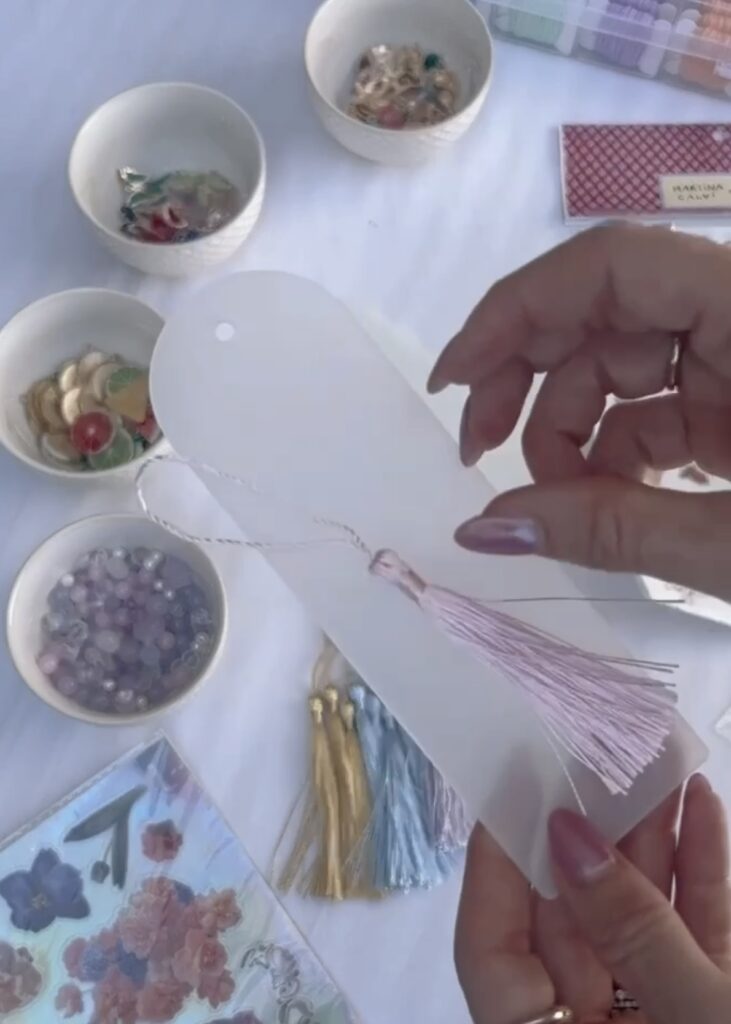
Step 5 – attach the tassel.
String the end loop of the tassel through the hole, and then pull the tassel, charms and beads through the loop (closer look below).
And just like that you’re done!


They all turned out so cute! This is such a fun and easy girls night idea! Imagine a book club making matching bookmarks?? Too cute. You could even the get the kids involved for a fun back to school activity. This is such a thoughtful gift idea for your book loving friends too! The possibilities are endless.

We’ve done so many fun crafts this summer, if you’re looking for more ideas:
If you’re a book lover like me, check out more of my reading finds:
Shop all of my craft supplies:
I can’t wait to see what other crafts we come up with!
More charms and beads:


More stickers:


You might also like