


DIY Book Bedazzling
As a major reader and craft girlie, the book bedazzling trend caught my eye immediately! I saw it on Pinterest initially, but recently, it’s made its way to TikTok and Instagram. Since completing my last bedazzling project, I wanted to do another and this one was perfect! I love how this craft not only involves reading but also boosts creativity! It makes my favorite books look so adorable on my bookshelf. You could do this with your besties for a girls night in, at a book club or just have a cozy night in by yourself! I made this step-by-step DIY guide on how to bedazzle a book so you can easily recreate this craft on your own.


As a major reader and craft girlie, the book bedazzling trend caught my eye immediately! I saw it on Pinterest initially, but recently, it’s made its way to TikTok and Instagram. Since completing my last bedazzling project, I wanted to do another and this one was perfect! I love how this craft not only involves reading but also boosts creativity! It makes my favorite books look so adorable on my bookshelf. You could do this with your besties for a girls night in, at a book club or just have a cozy night in by yourself! I made this step-by-step DIY guide on how to bedazzle a book so you can easily recreate this craft on your own.
DIY Book Bedazzling
Today I’m explaining exactly what book bedazzling is and how to do it! It doesn’t require too many items, but it does require a little bit of patience. So grab your favorite read, the Amazon tools, and let’s get started.
What Does Book Bedazzling Mean
Bedazzling is essentially the art of covering an item in flat-backed gems. I really thought bedazzling was would be a difficult task but after bedazzling mermaid-inspired hair brushes, I feel very prepared! You don’t have to fully cover your book in gems – for example, I’ve seen people do only the title and it turns out super cute. Bedazzling can be a tedious project but it isn’t hard at all if you have the right tools and a little bit of practice – and patience! You can get all of the materials on Amazon and I’m including my exact ones for you.
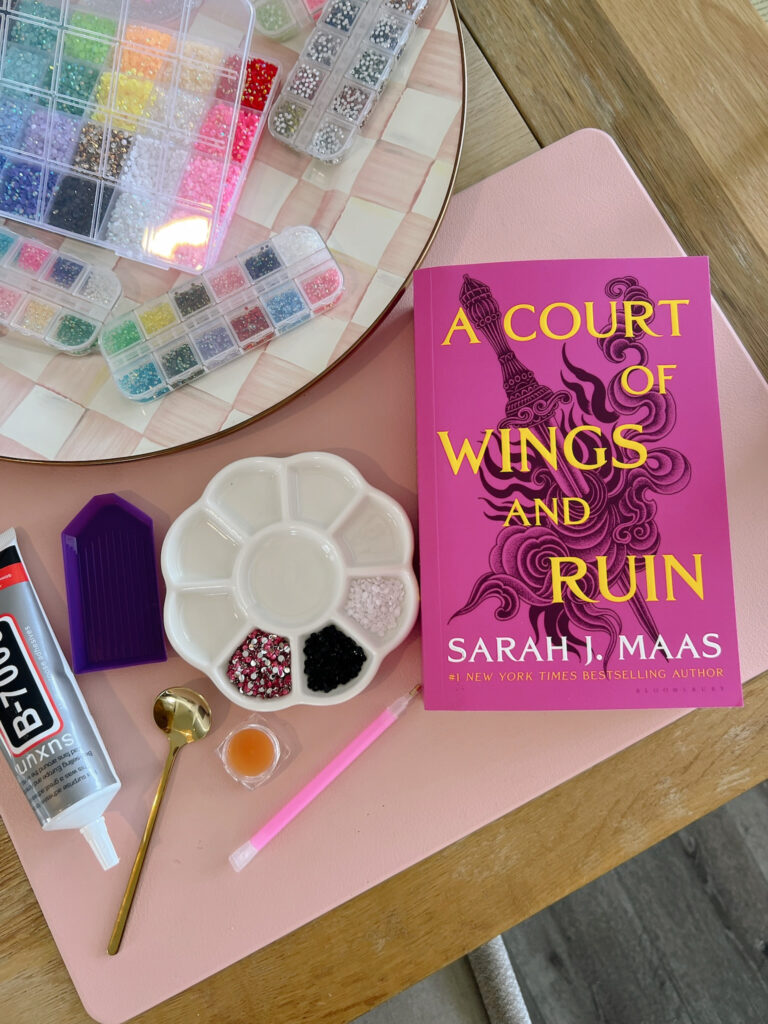
Materials & Tools Needed:
- Your favorite book
- Gems – flat-backed, various sizes. For this craft you’ll want 3 mm, 2 mm, and 1-1.5 mm for the really small gaps. You’ll want to find the most similar color possible in these various sizes so be sure to buy the same color name from the same brand OR find a variety size pack (exact gems used below!)
- Glue – E-7000 glue works the best for this craft and the lid has a precision tip for moving the gems if needed.
- Self stick diamond art pens – for easily attaching gems.
- Diamond tray kit – allows you to quickly line up your gems and fill in your work at a faster rate.
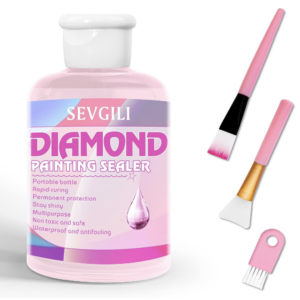
- Diamond art sealer kit – to keep your finished art secured!
- Crafting tweezers – can also be helpful for placing gems but you can get away without using them.
- Ceramic palettes – come in super handy when you’re sharing supplies.

Shop:


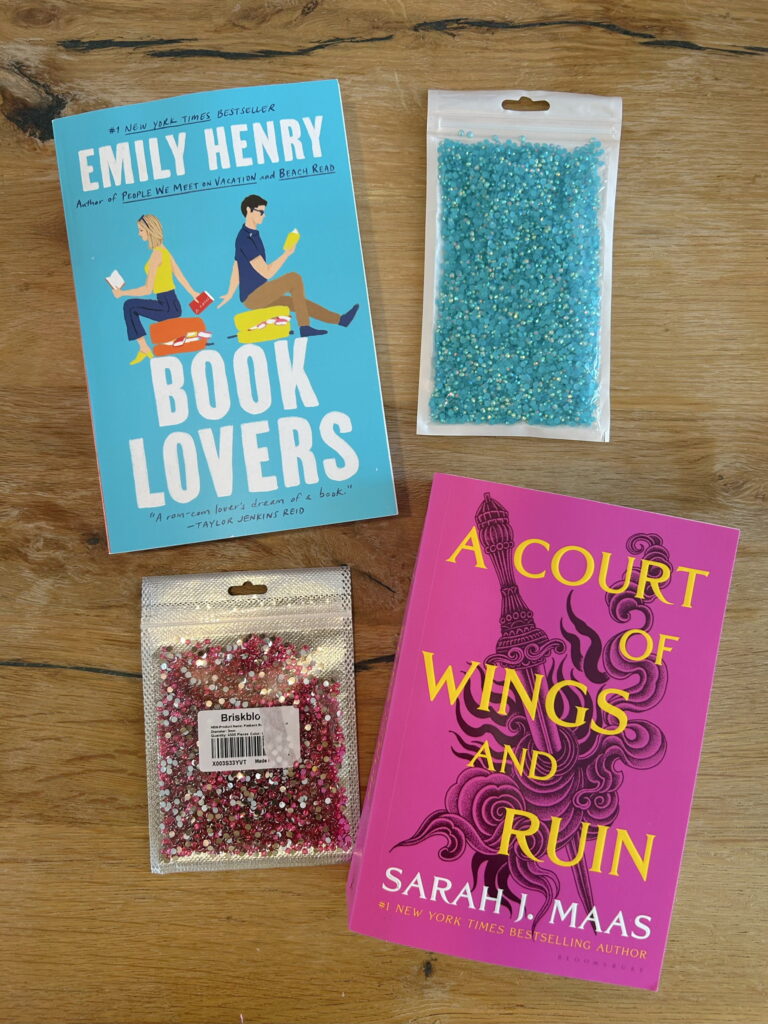
Shop the exact gems we used for our books:
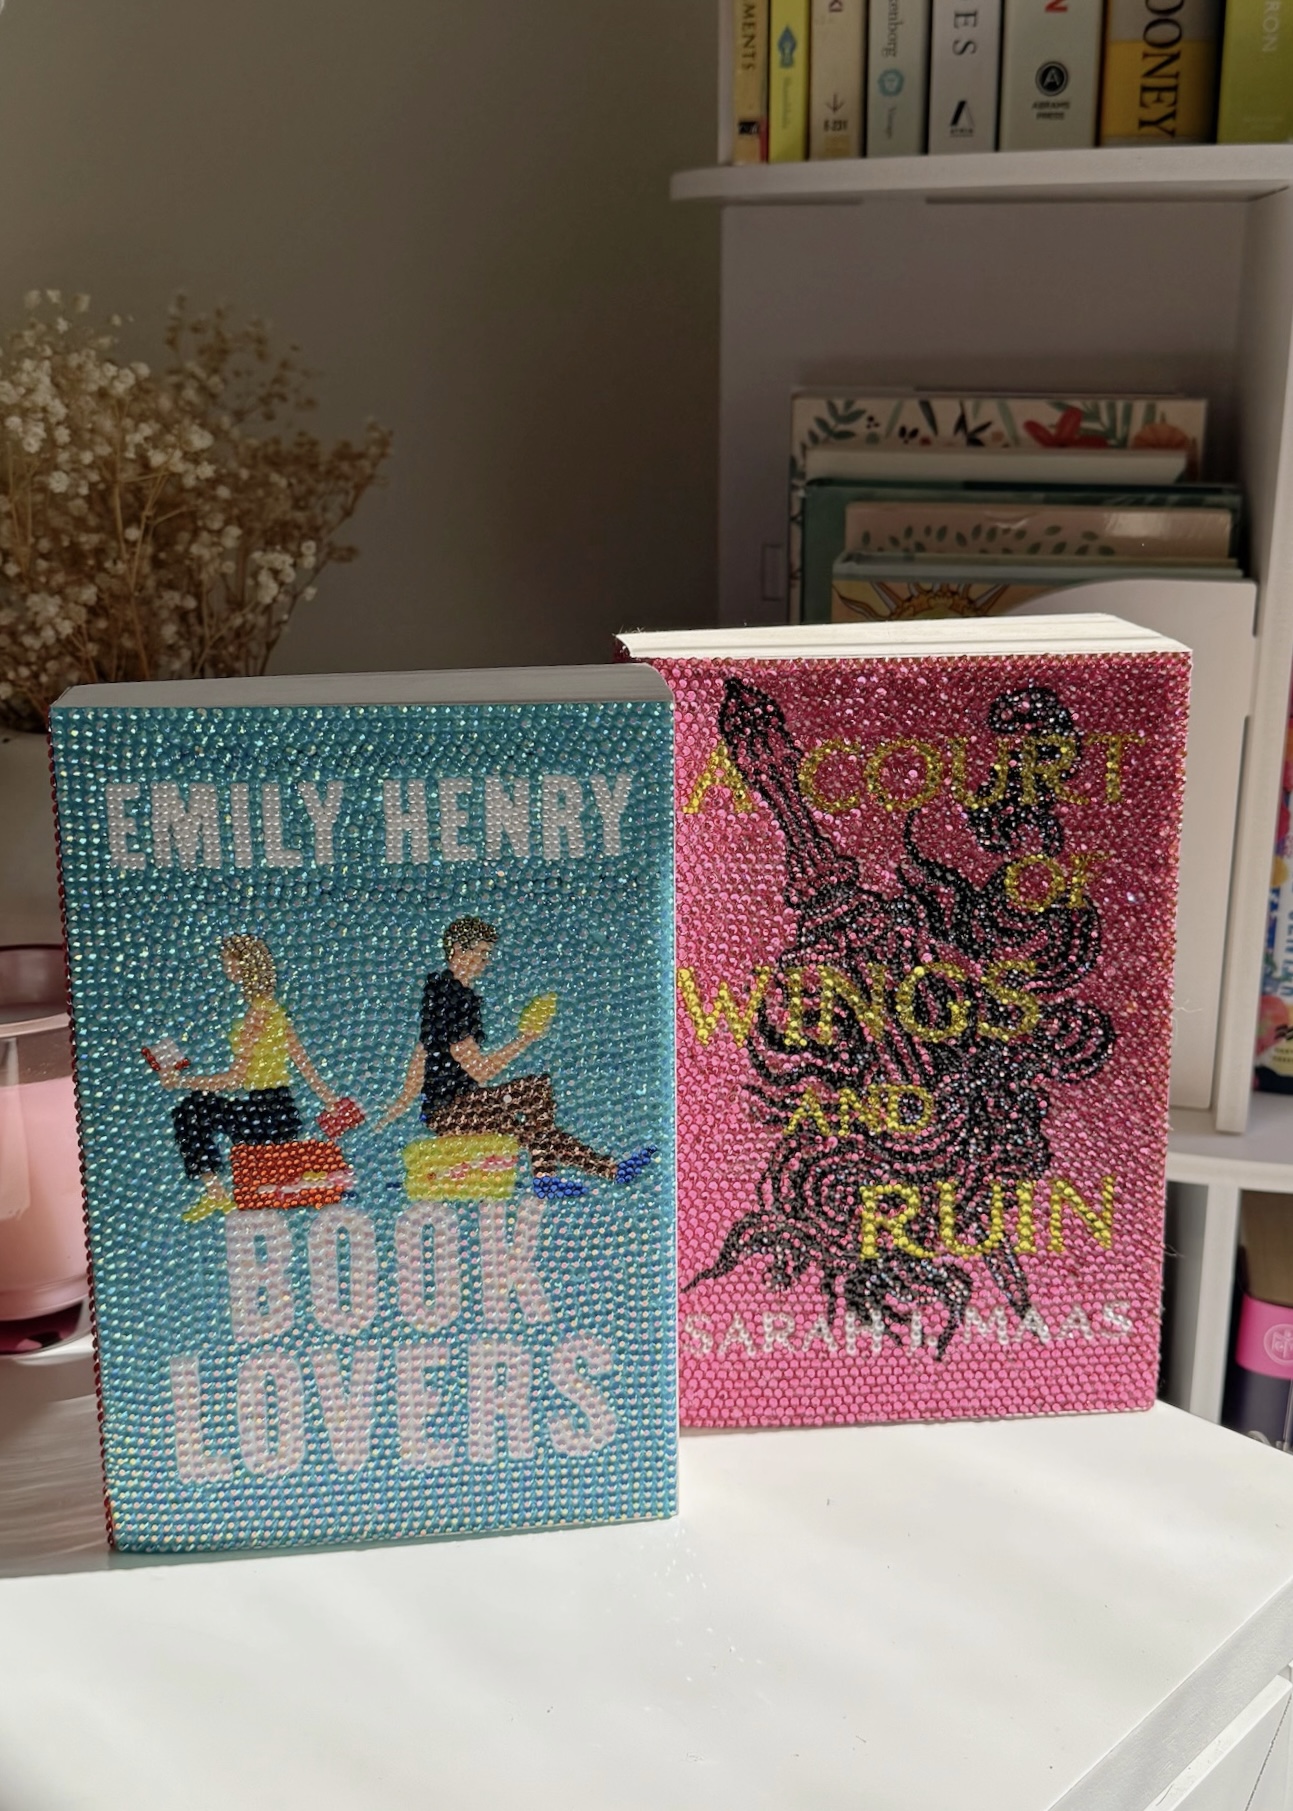
“Book Lovers”
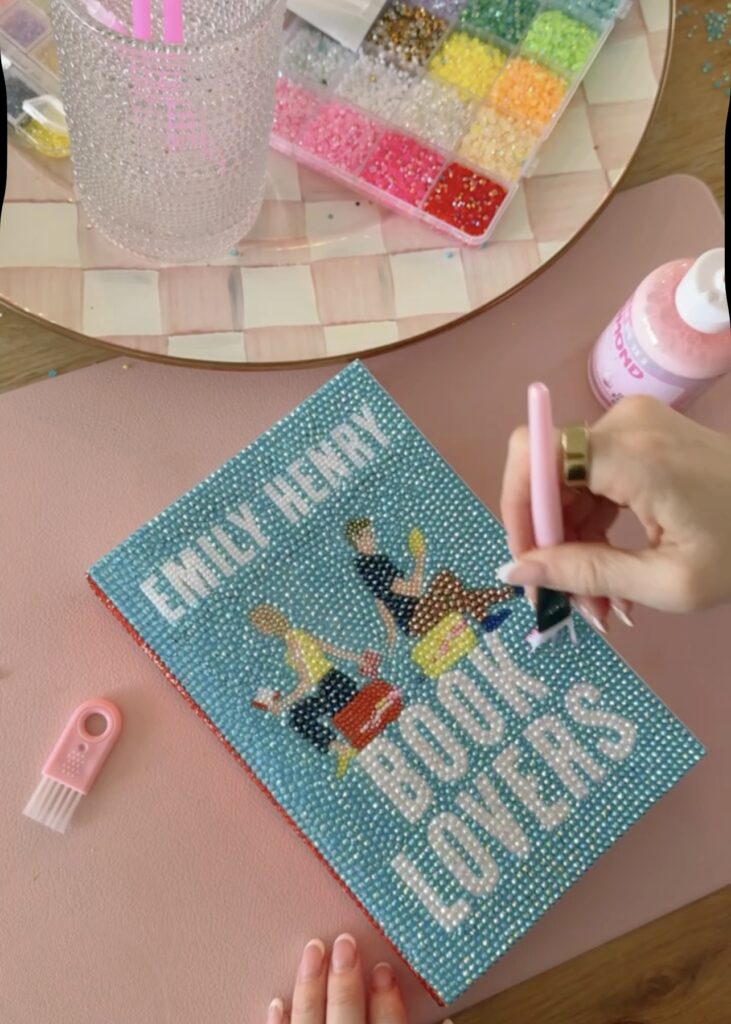
This book was so fun to bedazzle, I felt like I was coloring a picture but with gems! I used the multi color packs for the majority of the image but bought separate blue and orange packs to cover the larger background area on the cover and spine.


“A Court of Wings And Ruin”
This book was more difficult to bedazzle with it’s intricate design. Having the various sizes of the gems was a must in order to keep the design as accurate as possible.


How to Host a Book Bedazzling Night

To prepare for this craft, be sure to have everybody pick a book and buy matching gems in the right colors in advance! I provided the with glue, ceramic palettes, art pens, gem trays, and the sealer kit. You can always ask people to bring their own items or have everybody contribute to some extent. Overall, the craft is quite inexpensive, especially if you share supplies and tools.
If you want to host a book bedazzling girls night, just be aware that the craft itself can be time consuming if you want to cover your entire book in gems! You may want to give your guests a heads up to only bedazzle the artwork and title – or they can finish the project at home! My friend and I did them together over the course of a week. We came together every other day to hang out and craft, but we also worked on them separately at home. We made sure to finish them together, and it was such a fun project.
How to Bedazzle Books
Step-By-Step Guide To Decorating Your Book
Video tutorial for my visual learners:
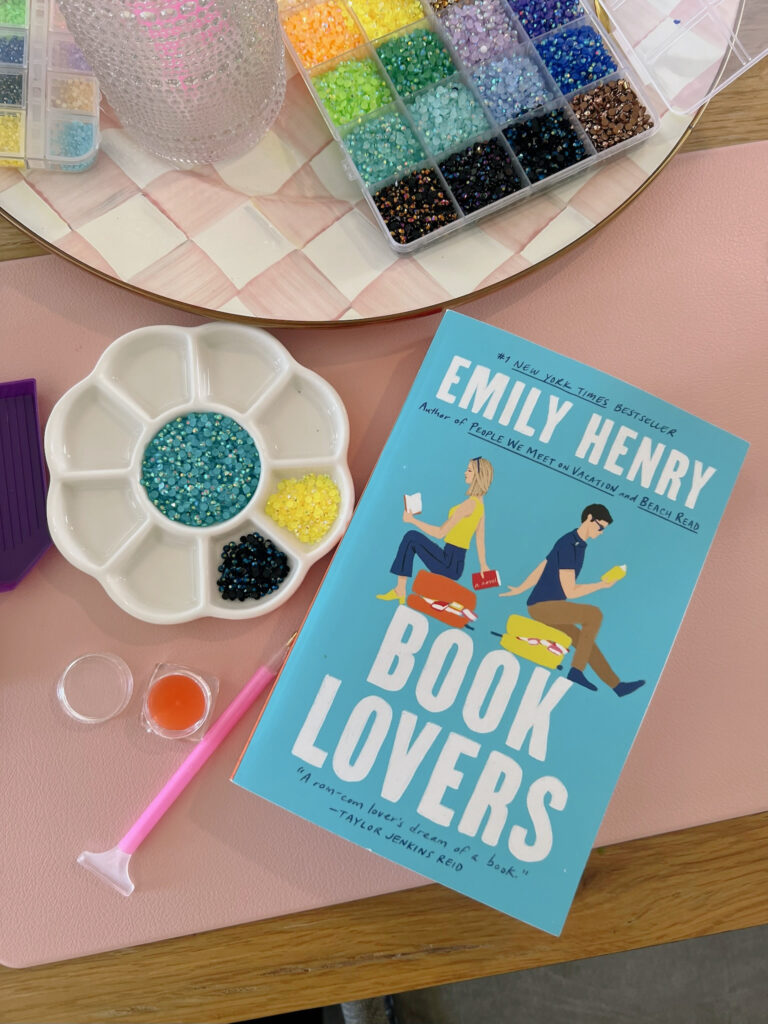
Step 1: Pick Your Favorite Book
Pick your book and find all of your colored gems! As mentioned before, you want flat-backed rhinestones of various sizes. For this craft you’ll specifically need 3 mm, 2 mm, and 1-1.5 mm for the really small gaps. Amazon has so many different colored gems so you’ll be sure to find the exact color you want! Be sure to order the same color from the same brand when buying multiple sizes to ensure the color is consistent.
Based on what I read online, you can bedazzle paperback or hard cover books, however, paperback is preferred because the actual colorful design is the most fun part to bedazzle – in my opinion! A hard cover book has a removable paper cover with the colorful design and it typically is covering a pretty plain cover. So if you want some freedom to bedazzle any design of your choice, a hard cover could be for you!
Step 2: Plan Your Design
Decide what you want to bedazzle before you get to work! There’s a lot of inspo pics on Pinterest if you want to see all of the possible options. You don’t have to bedazzle the whole book – so don’t be worried about the time commitment! You can do just the title, the main artwork, or your own design.

Step 3: Bedazzle By Layers
Spread the glue onto a small section of the book – it takes a few minutes to dry so you have time to work with – and start bedazzling – the image or text! In order to keep the integrity of the shapes, I recommend starting with the top layer and moving to the next layer, and so on.
For example, start with the title and author because it’s the most forefront object, and then the artwork, and then fill the background, starting with the outside edges of the book.
How to Use Diamond Art Pens And Wax:
Spread the glue onto a small section of the book – it dries in a few minutes so you have a substantial time to work with. Dip the hollow end of your pen into the wax (for this craft, I used the smallest option). Gently press the pen onto the top of the flat backed gem and then firmly press it onto the tacky area. The gem should release automatically, however, if you accidentally got glue on the pen it may stick to the tool versus the art piece, so be sure to wipe it every now and then.
Self-Stick:
Self stick pens are the best because they work exactly the same but no wax required!
Shop Tools:

Step 4: Fill the Background
You should start by lining the whole perimeter, then around the edges of the design and words. Then fill in the empty spaces between those areas.
Pro Tip:
The gem tray kit really comes in handy to bedazzle the background quicker.


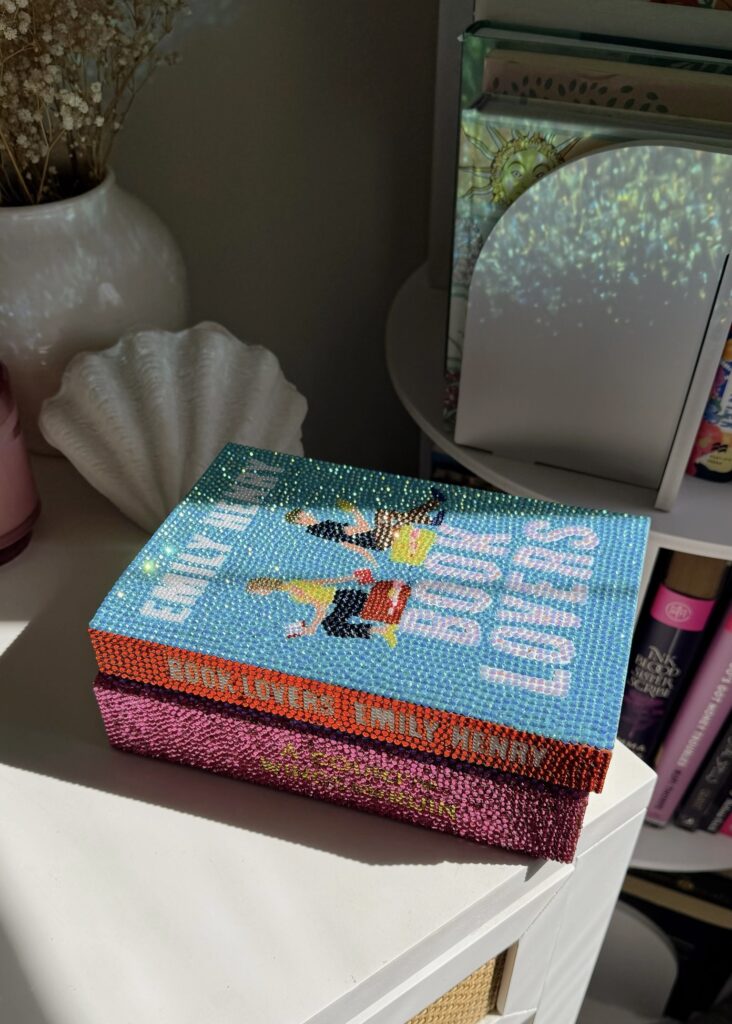
Step 5: Fill in the Spine
If you wish to do the spine, I found it best to lean the back of the book on a surface with the spine titled towards you. I used my water bottle to prop up the book and it worked well! You can choose to bedazzle just the title, the author, or go for one solid color.
Step 6: Add Your Finishing Top Coat
A clear coat of diamond art sealer will keep everything attached and secured so you can cherish your bedazzled book forever!

And Done!
The Finished Product:


More Ideas

If you’re into crafting and reading like me, you may enjoy my other craft ideas!
Thanks for this great tutorial with links! My book club is going to try it out. There’s about 10 of us. How many kits / boxes of gems do you think we would need?