


12 Easy Halloween Treat Recipes
Halloween is one of my favorite times of the year, and one of my favorite things about this season is making fun and easy Halloween treat recipes. Today, I’m sharing a round-up of my favorite easy Halloween treat recipes that are sure to spook both kids and adults at your next Halloween party!


Halloween is one of my favorite times of the year, and one of my favorite things about this season is making fun and easy Halloween treat recipes. For my Halloween party, I wanted to serve a lot of Halloween treats but didn’t want to spend hours preparing food. With endless ideas of easy Halloween treats on social media, I found tons recipe ideas that don’t require too much time in the kitchen. These treats are wonderful for big Halloween parties or even smaller casual gatherings!
Today, I’m sharing my favorite easy Halloween treat recipes that are sure to spook both kids and adults at your next Halloween party! If you’re planning to make any mocktails or drinks to go along with your treats, I included a few of my essentials here.
12 Easy Halloween Treat Recipes
Jump to Recipe
Strawberry Ghosts
These adorable chocolate-covered strawberries are all over social media! This small twist on a classic treat turned out to be so delicious and super easy.
For this recipe, I used store bought black icing to make the ghost faces. However, you can also use melted dark chocolate in a piping bag! I used skull cocktail picks from Target to dip the strawberries, but you can also use cute paper straws to dip and serve the ghosts! My skull cocktail picks are sold out but Amazon sells similar ones.
Ingredients:
- Strawberries
- White chocolate melting chips
- Black icing
Instructions:
- Melt white chocolate melts in a double broiler or a microwave safe bowl – follow the directions on the back of the package.
- Using a small spoon, scoop about a teaspoon amount of melted white chocolate onto the parchment paper and drag the chocolate to create a ghost tail. See video for more help!
- With straws or food picks, dip the strawberry into the bowl of melted white chocolate, and then set it onto the previously created ghost body.
- Allow the chocolate to dry.
- Using black icing or melted chocolate, paint two small eyes and an oval mouth onto each strawberry ghost.
Equipment:
- Parchment paper
- Cocktail picks or paper straws
- Microwave safe bowl or double broiler
The Video:
Shop:


*Printable recipe at the bottom of the blog post

Spiderweb Brownies
These spiderweb brownies are another easy store bought recipe with a small twist! This is a perfect last minute Halloween treat if you’re expecting guests and don’t have much time to prep.
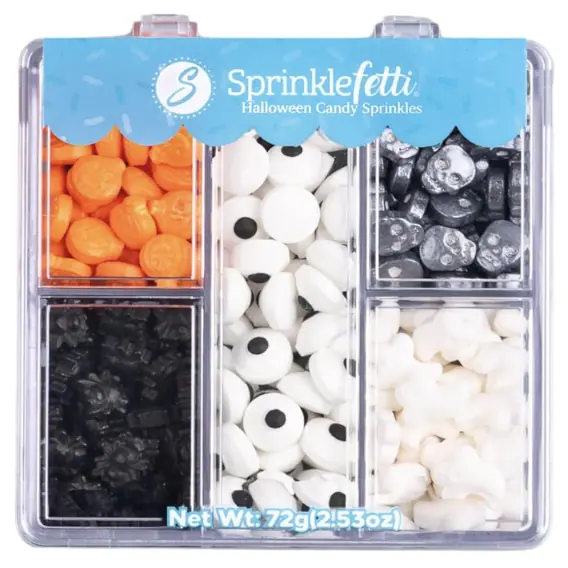
Using only a box of brownie mix and melted marshmallows, this spooky treat is so easy! I also added spider candies that came in a Halloween set with decorations you can use in other fun recipes!
Ingredients:
- Brownie mix
- Marshmallows
- Spider sprinkles (optional)
Instructions:
- Prepare the brownies according to the box instructions; bake and then allow to fully cool. Tip: Using parchment paper helps remove the brownies from the pan in one piece!
- Microwave a handful of marshmallows in a microwave safe bowl until fully melted.
- Holding the melted marshmallow between your fingers, stretch the marshmallow to form long spiderweb-like strings, pulling them over the brownies and pressing them down. Repeat until the brownies are covered in “spider webs”.
- Place the spiders over the brownies.
- Allow the marshmallow to harden in the fridge, and then cut. (If you don’t let the marshmallows cool, it will stick to the knife.)
Equipment:
- Oven safe baking dish
- Microwave safe bowl
The Video:
Shop:


*Printable recipe at the bottom of the blog post

Pumpkin Cheese Ball
This savory appetizer was so easy to put together! I saw a few different ways to make a “pumpkin cheese ball” and combined my favorite ideas to make this delicious snack.
This recipe should be prepared several hours before hosting.
Ingredients:
- 2 8 ounce blocks of cream cheese, softened
- 2 jalapeños, seeded and diced
- 8 ounces bacon, cooked and diced
- 3 cups finely shredded cheddar cheese (seperated)
- 1 teaspoon garlic powder
- 1 teaspoon onion powder
- 1 pepper stem
Instructions:
- Cook and dice bacon.
- In a large bowl, mix the cream cheese, jalapeños, bacon, 1 cup of cheddar cheese, and seasonings.
- Form the mixture into a ball, set aside.
- Pour the remaining 2 cups of shredded cheese into the bowl. Coat and cover the mixture in the cheese until it’s completely orange.
- Place the cheese coated ball onto plastic wrap and form it into a tight ball.
- Using twine, wrap and tie the ball a few times until you have the desired amount of grooves. Make sure to knot the twine tightly so that it actually creases the cheese ball. (See video for more help!)
- Refrigerate for a few hours, or over night.
- Untie the twine and unwrap the plastic wrap. Cut the stem from the pepper and stick in the top of the cheeseball.
- Enjoy with crackers or tortilla chips!
Equipment:
- Twine
- Plastic wrap
The Video:
Shop:


*Printable recipe at the bottom of the blog post

Peanut Butter Spider Cookies
I love peanut butter cookies and this is such a fun take on them! Also, I used store bought cookie dough to reduce prep time, along with peanut butter cups and chocolate icing for legs! Add fun edible eyes for the finishing touch.
If you don’t want to use store bought dough, you can make peanut butter cookies on your own using this recipe from Food.com:
- 1 cup packed brown sugar
- 1 cup white sugar
- 1 cup butter or 1 cup margarine, softened
- 2 eggs
- 1 teaspoon baking soda
- 1 teaspoon baking powder
- 1 teaspoon vanilla extract
- 2 1⁄2 cups flour
Ingredients:
- 1 package peanut butter cookie mix (plus the ingredients listed on the package such as eggs, oil, and water)
- Mini Reese’s peanut butter cups
- Edible eyes
- Chocolate icing or 1/2 cup chocolate chips
Instructions:
- Prepare the peanut butter cookies according to package instructions.
- Chill cookie dough for 10-20 minutes.
- Place on prepared cookie sheets and bake for 10-12 minutes.
- Let the cookies cool for a few minutes.
- Using chocolate icing or melted chocolate in a piping bag, “glue” the peanut butter cup to the center of each cookie.
- Then, using chocolate icing or melted chocolate, “glue” the back of the edible eyes onto the front of the peanut butter cups.
- Draw eight legs on each spider cookie. Let the chocolate on the cookies harden for about 20 minutes.
- Enjoy!
Equipment:
- Cookie sheet
- Microwave safe bowl
- Piping bag or ziplock bag
The Video:
Shop:


*Printable recipe at the bottom of the blog post

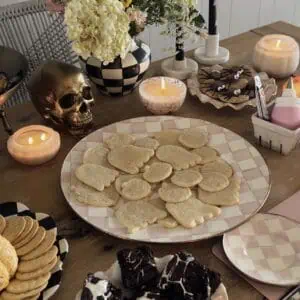
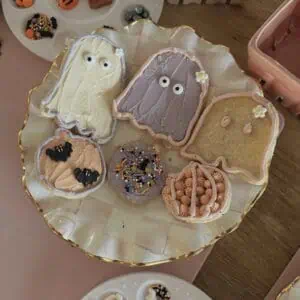
Halloween Sugar Cookies
Recently, I made Halloween cookies using store bought sugar cookie dough (with a few added ingredients) and fresh made buttercream frosting!
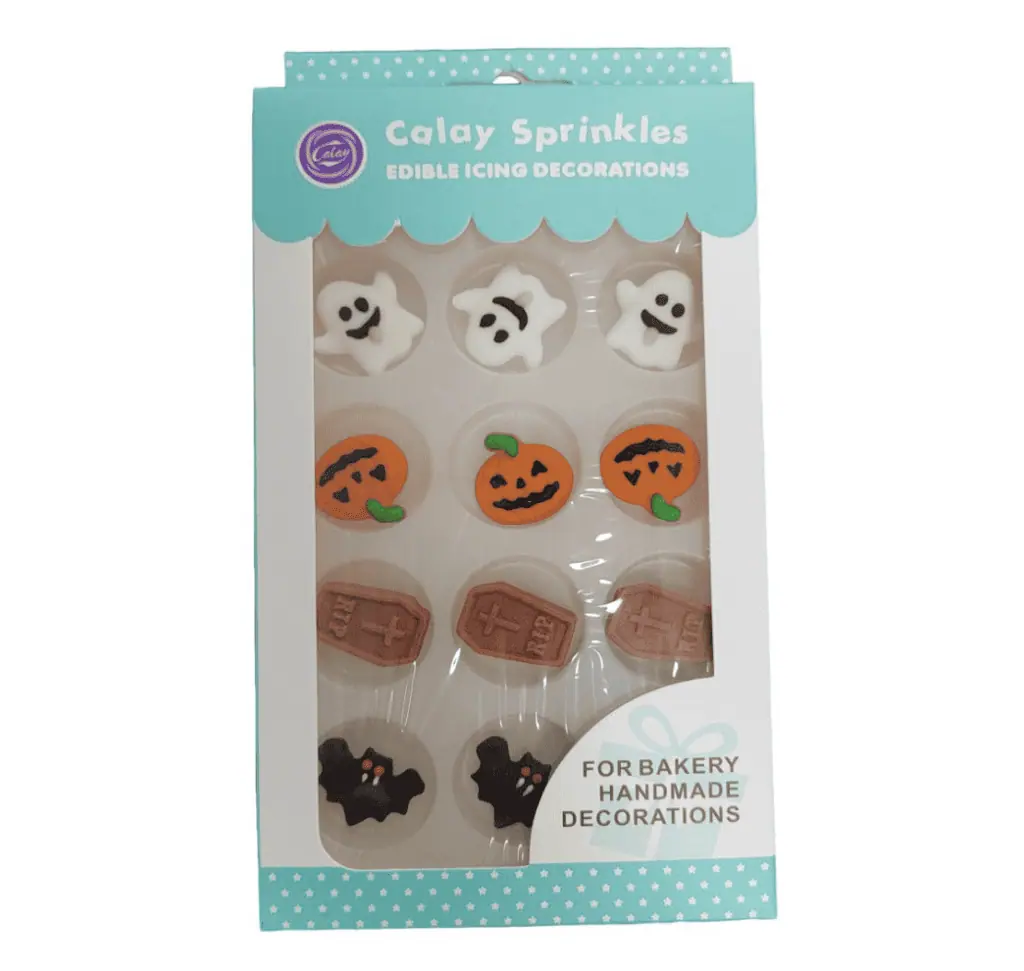
If you want to decorate cookies with your friends or family, be sure to read my tips for preparing the perfect dough and frosting! I’ve also linked my cookie decorations and these must-have frosting bulbs for super easy icing.
The Sugar Cookies:
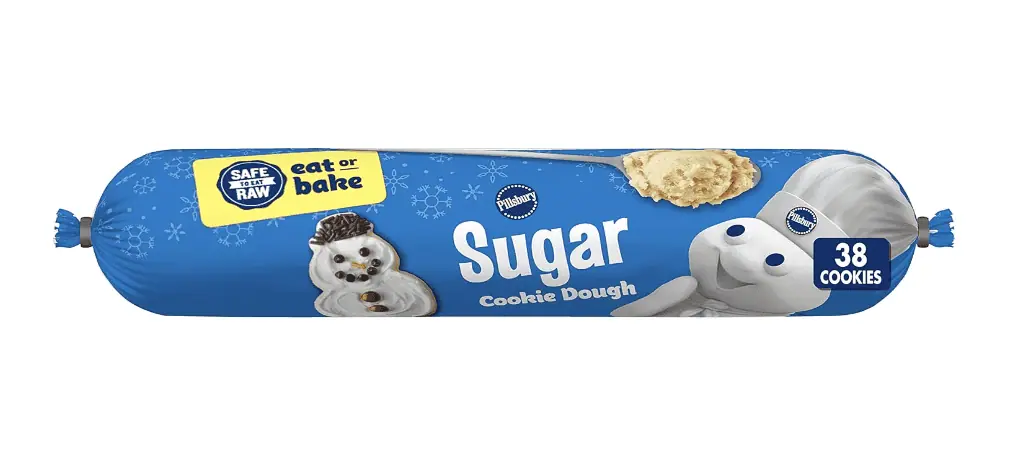
I used store bought sugar cookie dough to save time. If you’re cutting shapes with the dough, you’ll want to add a few extra ingredients!
Ingredients:
- 1 roll of refrigerated sugar cookie dough or homemade refrigerated sugar cookie dough
- 3 oz cream cheese softened
- 1/2 cup all-purpose flour
Instructions:
- Pre-heat oven to 350 degrees and lightly grease cookie sheet or use parchment paper.
- Mix cream cheese and flour into the dough.
- Roll the dough on parchment paper sprinkled with flour, and cut into shapes using cookie cutters.
- Gently transfer shapes onto cookie sheet, 2 inches apart.
- Bake for around 11 minutes or until the edges are golden brown.
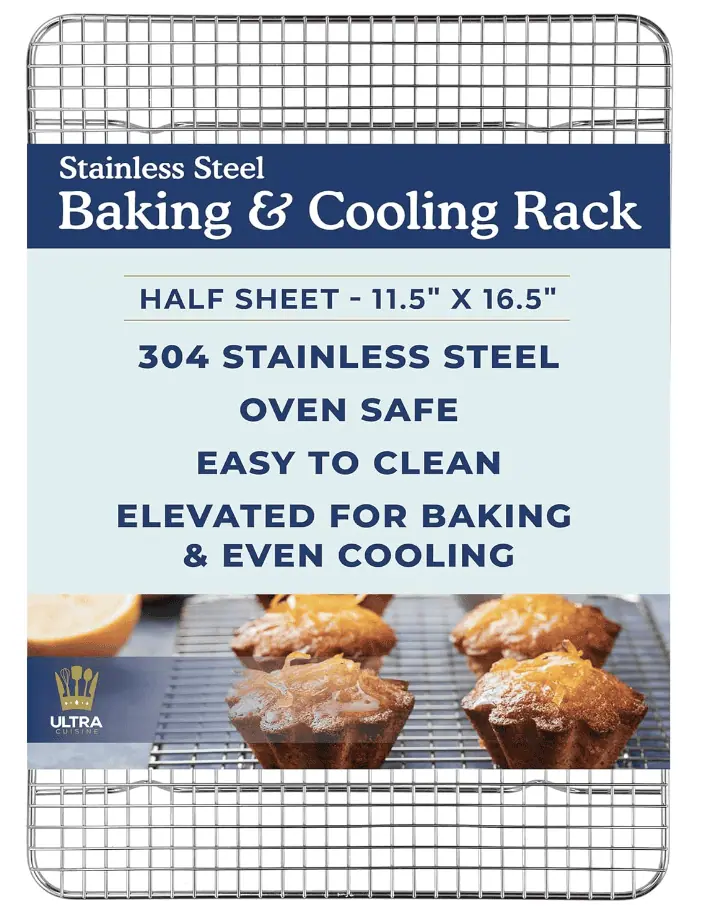
- Allow cookies to cool for 2 minutes before gently transferring to a baking rack.
- Let the cookies fully cool before frosting.
Equipment:
- Cookie cutters (linked mine below!)
- Parchment paper
- Cookie sheet
- Drying racks
Shop:


*Printable recipes at the bottom of the blog post
The Icing:
I made fresh butter cream frosting right before the party started because fresh icing is the best to decorate with! Make sure you leave enough time to mix different color combinations!
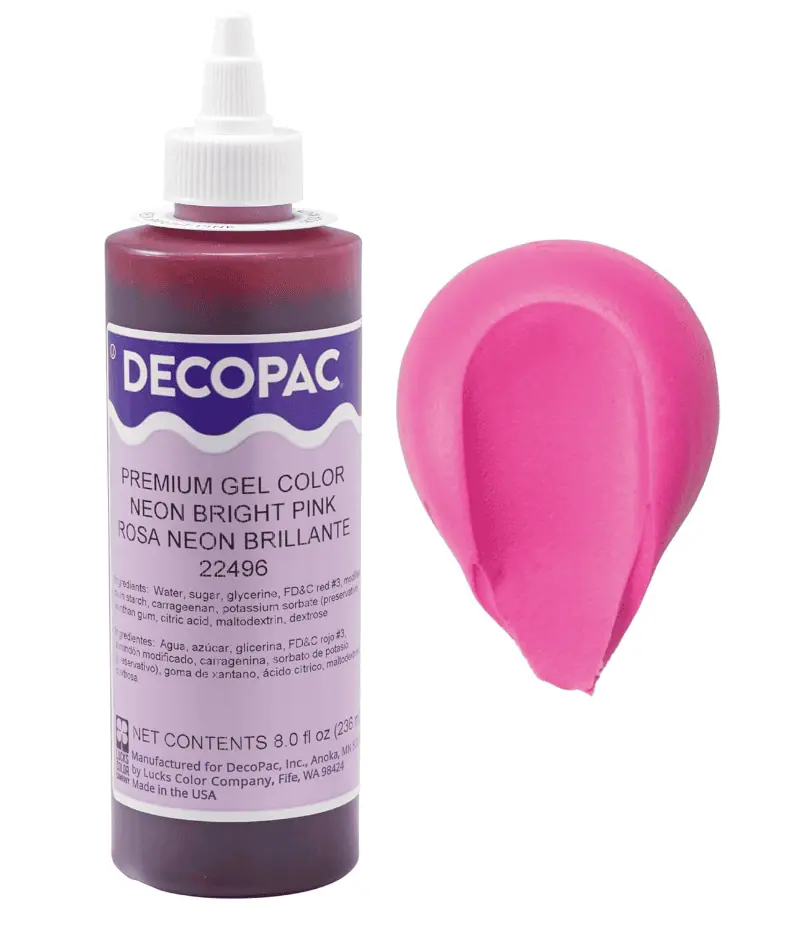
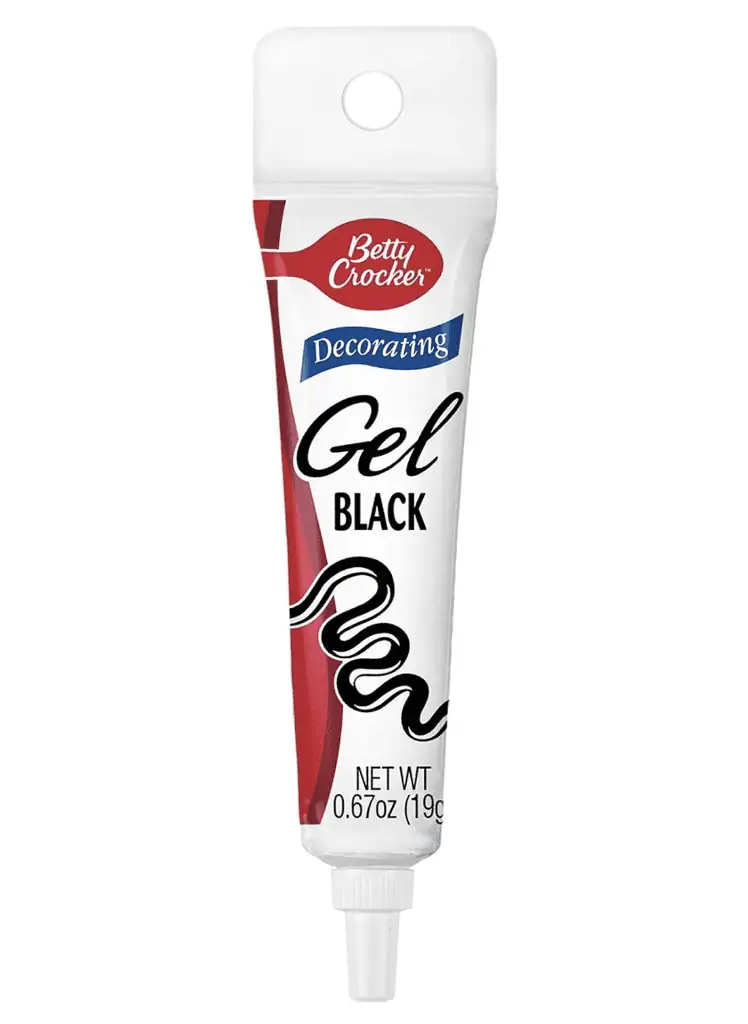
For my Halloween girl’s night, I wanted a pastel Halloween color palette. I made white, pink, purple and orange icing! And a small tube of black icing as well!
I doubled my normal icing recipe for cookie decorating because you need enough to make multiple colors to fill the piping bags. This recipe will make around 10 cups of icing.
Ingredients:
- 4 cups of unsalted butter room temperature
- 9 cups of powdered sugar
- 1/2 teaspoon fine salt
- 8 tsp vanilla extract
- 8 tablespoons of heavy cream or whole milk
- Food dye of choice
Instructions:
- In a stand mixer with a whisk attachment, beat butter on high speed for 5 minutes – or until whipped and light in color. Scrape the bowl down throughout, as needed, with the mixer turned off.
- Meanwhile, sift the powdered sugar (optional, but best results).
- Reduce mixer speed to medium low, slowly add the sifted powdered sugar.
- Beat until fully mixed, scraping the bowl as needed.
- Add salt, vanilla extract; beat until fully incorporated.
- Slowly add heavy cream until you reach desired consistency.
- Separate icing and mix in colors, if desired. Using the stand mixer to mix the colors is easiest, but can also mix by hand.
Equipment:
- Stand mixer
- Sifter
- Piping bags or frosting bulbs for icing
Shop:


Shop the cookie decorations:


The Video:
*Printable recipes at the bottom of the blog post
The blog post:

S’mores Dip
This 3-ingredient treat is so perfect for a cozy fall night! I recently had a movie night to watch the original “Beetlejuice” movie and fall snacks were a must. This s’mores dip is so easy!
You can easily customize this recipe based on what you have on hand & what you like! And you can add a layer of peanut butter, Reese’s Peanut Butter Cups or put chocolate chips on top at the end! I used extra large marshmallows, but regular works as well! It’s also such a cute idea to draw ghost faces on the marshmallows using black icing or melted chocolate.
For the recipe, it’s extremely important that your ramekin or baking dish of choice is oven safe! My 16 oz. pumpkin ramekins are from Amazon and they come with the cutest lids. I can’t wait to use them for soups and other cozy fall meals. Note that the cooking time and temperature may vary slightly depending on the size of baking dish!
The marshmallow will begin to harden after about 20 minutes so enjoy it right away! I served the s’mores dip with Honey Maid graham crackers and honey crisp apple slices! You can also use green apple slices and pretzels for more dipping options.
Ingredients
- Chocolate (I used 4 Ghirardeli semi-sweet chocolate squares for each 16 oz. ramekin)
- Marshmallows (I used jumbo Jet Puffed marshmallows)
- Graham crackers for dipping (I used Honey Maid)
Instructions
- Bake chocolate bar pieces in the oven at 375 degrees for 8 minutes
- Add a layer of marshmallows and bake for 6-8 more minutes.
- Serve right away!
Equipment:
The Video:
Shop:


The blog post:
*Printable recipe at the bottom of the blog post
Two Ingredient Halloween Cookies
I saw so many people making these Halloween cookies on social media and I had to give them a try. This recipe only requires a package of store bought chocolate chip cookies and a package of store bought Pillsbury Halloween cookies. The cookies were super easy to make and turned out so yummy!
If you don’t want to use store bought cookie dough, you can make homemade dough using this recipe from Nestle:
- 2 1/4 cups all-purpose flour
- 1 teaspoon baking soda
- 1 teaspoon salt
- 1 cup (2 sticks) butter, softened
- 3/4 cup granulated sugar
- 3/4 cup packed brown sugar
- 1 teaspoon vanilla extract
- 2 large eggs
- 2 cups (12-oz. pkg.) Nestlé Toll House Semi-Sweet Chocolate Morsels
- 1 cup chopped nuts (if omitting, add 1-2 tablespoons of all-purpose flour)
Ingredients:
- Chocolate chip cookie dough
- Pillsbury Halloween sugar cookies
Instructions:
- At 350 degrees, bake chocolate chip cookie dough for 4 minutes.
- Gently press the Pillsbury Halloween sugar cookies into chocolate chip cookies.
- Bake for 10 more minutes.
Equipment:
- Cookie sheet
The Video:
Shop:


*Printable recipe at the bottom of the blog post

Scarecrow Crunch
This salty and sweet mix is so cute for fall and so easy to throw together!
Source: Delish.com
This scarecrow crunch recipe is so fun because you can change up any ingredients according to what you like! Chex Mix can be made 2 weeks ahead. Store in an airtight container at room temperature.
Ingredients:
- 4 c. Corn Chex
- 4 c. Wheat Chex
- 2 c. cinnamon Teddy Grahams
- 1/2 c. (1 stick) unsalted butter, melted
- 6 Tbsp. light brown sugar
- 1 tsp. ground cinnamon
- 1 tsp. kosher salt
- 1 tsp. pure vanilla extract
- 2 c. candy corn and/or candy pumpkins
- 2 c. chocolate-covered pretzels
- 2 c. salted sweet potato chips
- 1 c. Reese’s pieces
Instructions:
- Preheat oven to 250°. In a large bowl, combine Corn Chex, Wheat Chex, and Teddy Grahams. In a small bowl, mix butter, brown sugar, cinnamon, salt, and vanilla.
- Drizzle about one-third of butter mixture over Chex mixture. Toss to coat, then repeat with remaining butter mixture until every component is coated.
- Divide Chex mixture between 2 unlined rimmed baking sheets; spread in an even layer.
- Bake Chex Mix, tossing every 15 minutes, until toasted and crisp, 30 to 45 minutes.
- Let cool, then mix in candy corn, pretzels, sweet potato chips, and Reese’s pieces.
*Printable recipe at the bottom of the blog post

Spiderweb Dirt Cups
Dirt and worms is one of my favorite childhood treats, and I love this spooky take on them!
Source: FoodNetwork.com
You can change this recipe up if you’re missing some of the ingredients or want to add your own favorites!
Ingredients:
- One 3.4-ounce box instant chocolate pudding mix
- 1 1/2 cups milk
- 1 1/2 cups heavy whipping cream
- 3 tablespoons black cocoa powder or Dutch-process cocoa powder
- 26 chocolate sandwich cookies, such as Oreos, crushed to resemble dirt
- 15 gummy worms
- 20 candy eyeballs
- 1/2 cup white candy melting wafers, melted
- Crushed ice
- 6 sugar-coated gummy bears
Instructions:
- Whisk together the instant pudding mix and milk in a large bowl until smooth. Let sit until slightly set, 5 minutes.
- Whip the cream in another large bowl with an electric mixer for about 2 minutes. Add the cocoa powder and mix for about 1 minute. Transfer one-third of the whipped cream to the pudding and whisk until fully incorporated, then carefully fold in the remaining whipped cream with a rubber spatula.
- Divide half of the pudding mixture among 6 clear cups or glasses. Top each cup with crushed cookies, gummy worms and candy eyeballs. Create another layer. Refrigerate at least 1 hour.
Spiderweb Instructions:
- Line a baking sheet with kitchen towels. Fill a large bowl with crushed ice and a small amount of water. Press the ice down so the surface is as flat as possible. Transfer the melted wafers to a piping bag fitted with a medium round tip (or a resealable plastic bag with one corner snipped off). Pipe into the ice bath 4 intersecting lines to create a 3-inch asterisk, then pipe a circle just inside the asterisk and a smaller circle inside the first circle. Let the spiderweb set for 10 to 15 seconds then gently transfer to the prepared baking sheet. Repeat to make 8 spiderwebs; since they are fragile it is good to have a couple extra.
Spider Instructions:
- Arrange the gummy bears flat-side up. Use kitchen shears to snip 3 narrow triangles out of each short end, creating 4 legs on both sides of each spider.
- Place a spiderweb on each dirt cup then top with a gummy spider. Serve cold.
*Printable recipe at the bottom of the blog post

Pretzel Spider Webs
Another easy treat idea from the Food Network using just a few ingredients!
Source: FoodNetwork.com
For this recipe you need a piping bag, but you can also use a ziplock bag.
Ingredients:
- 80 pretzel sticks
- 2 cups white candy melting wafers
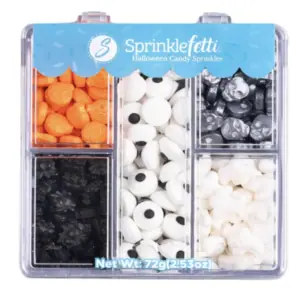
- 1/2 cup Halloween sprinkles
- Chocolate spiders, optional
Instructions:
- Line two sheet pans with parchment paper.
- In sets of 8, arrange the pretzel sticks into the spokes of 10 webs, with the centers touching and the outer edges spaced.
- Melt the melting wafers according to the package instructions, approximately 2 minutes in a microwave or 3 to 5 minutes over a double boiler. Transfer to a piping bag and cut the tip to create a small hole.
- Pipe a small amount of the melted candy onto the center of each web where the pretzels meet; this will hold the webs together. Then pipe a web pattern by starting in the center and spiraling out to the edges. Go around the outer edges a couple times to create a firm border. Carefully spoon over the sprinkles. Repeat with the remaining webs.
- Place chocolate spiders in the center, if using. Let set 1 hour.
*Printable recipe at the bottom of the blog post

Melting Witches Bark
I’ve seen so many fun Halloween bark recipes but this one is definitely the most unique!
Source: FoodNetwork.com
Another recipe that is completely interchangeable! There’s so many different candies and ingredients you can use to make Halloween bark, the options are endless.
Ingredients:
- Eight 1-inch strips sour candy belts (a mix of color works great)
- 8 pretzel sticks
- 4 ounces (about 2/3 cup) orange candy melting wafers
- 1 teaspoon refined coconut oil
- 8 fudge-covered chocolate sandwich cookies, such as Oreos
- 8 cone-shaped corn snacks, such as Bugles
- Coarse black sanding sugar or regular sanding sugar
- 8 ounces (about 1 1/3 cups) green candy melting wafers
- 4 ounces (about 2/3 cup) black candy melting wafers
- 12 ounces (about 2 cups) brown candy melting wafers
- 16 candy eyeballs
- Halloween sprinkles, for topping
- 8 mini candy pumpkins, such as Mellowcreme, for topping, optional
Instructions:
Step One
Preheat the oven to 250 degrees F. Line a baking sheet with a silicone baking mat or parchment and set aside.
Step Two
Use sharp kitchen shears to make thin verticals cuts in the candy, leaving a 1/4-inch strip at the top of the candy uncut. It will look like fringe. Wrap the uncut strip of the candy around the tip of a pretzel stick; the 2 ends should overlap slightly. Then, use your fingers to gently press the candy so that it clings to the pretzel, being careful not to break the pretzel. Fan out the fringe a bit so it resembles a small broom. Repeat with the remaining sour candy and pretzels, making 8 brooms. And set aside.
Step Three
Put the orange candy wafers in a small ovensafe ramekin. Bake until the wafers are glossy and begin to melt, 3 to 4 minutes. Give the wafers a good stir; if the mixture isn’t smooth return it to the oven for 30 seconds and stir again. And repeat until smooth, then stir in the coconut oil. Set aside to cool completely, 5 to 10 minutes.
Step Four
Arrange the fudge-covered cookies on a plate or small baking sheet and place the ramekin of melted orange candy next to it. Then, drop a cone-shaped corn snack into the orange candy, and then use 2 wooden skewers or chopsticks to turn the snack so it’s completely coated. Lift it out and place it on an empty part of the plate or baking sheet. Sprinkle liberally with sanding sugar. Next, use your fingers to carefully pick the coated corn snack up by the tip and the bottom and place it pointed-side up onto a cookie. Repeat with the remaining corn snacks and cookies to make 8 witch hats total. Set aside until set, about 15 minutes.
Step Five
Meanwhile, divide the green candy wafers into 8 even mounds around the prepared baking sheet spacing them evenly apart. Break 4 of the black candy wafers in half, then place a half on top of each mound of green wafers. In a medium bowl, combine the brown candy wafers and remaining black wafers, then scatter the mix around all sides of the green mounds, creating a rough rectangle. Bake until the wafers are glossy and begin to melt, 3 to 4 minutes. Immediately use a small offset spatula to smooth and spread the green wafers into rough circles. Wipe the offset spatula clean, then spread the black and brown wafers out around the green circles.
Step Six
Place 1 witch hat slightly off-center on each green circle, then place 2 candy eyeballs below each hat. Lay a broomstick to the side of the eyes. Scatter the Halloween sprinkles on top of the black and brown melting candies. Arrange the candy pumpkins on top if using. Set aside until the bark is solid, about 1 hour. Break apart and serve.
*Printable recipe at the bottom of the blog post
Shop my Halloween decor:

Printable Recipes

Strawberry Ghosts
Ingredients
- Strawberries
- Ghirardelli white chocolate melting chips
- Black icing
Instructions
- Melt white chocolate melts in a double broiler or a microwave safe bowl – follow the directions on the back of the package.
- Using a small spoon, scoop about a teaspoon amount of melted white chocolate onto the parchment paper and drag the chocolate to create a little tail.
- Using straws or food picks, dip the strawberry into the bowl of melted white chocolate, and then set it onto the previously created ghost body.
- Allow the chocolate to dry.
- Using black icing or melted chocolate in a piping bag, paint two small eyes and an oval mouth onto each strawberry ghost.
Notes
*Shop ingredients and decor above

Spiderweb Brownies
Ingredients
- Brownie mix
- Marshmallows
- Spider sprinkles optional
Instructions
- Prepare the brownies according to the box instructions; bake and then allow to fully cool. Tip: Using parchment paper helps remove the brownies from the pan in one piece!
- Microwave a handful of marshmallows in a microwave safe bowl until fully melted.
- Holding the melted marshmallow between your fingers, stretch the marshmallow to form long spiderweb-like strings, pulling them over the brownies and pressing them down. Repeat until the brownies are covered in “spider webs”.
- Sprinkle the spiders over the brownies.
- Allow the marshmallow to harden in the fridge, and then cut. (If you don't let the marshmallows cool, it will stick to the knife.)
*Shop ingredients and decor above

Pumpkin Cheese Ball
Equipment
- Twine
- Plastic wrap
Ingredients
- 2 8 ounce blocks of cream cheese softened
- 2 jalapeños seeded and diced ( I could have used more)
- 8 ounces bacon cooked and diced
- 3 cups finely shredded cheddar cheese seperated
- 1 teaspoon garlic powder
- 1 teaspoon onion powder
- 1 pepper stem
Instructions
- Cook and dice bacon.
- In a large bowl, mix the cream cheese, jalapeños, bacon, 1 cup of cheddar cheese, and seasonings.
- Form the mixture into a ball, set aside.
- Pour the remaining 2 cups of cheese into the bowl. Coat and cover the mixture in the cheese until it's completely orange.
- Place the cheese coated ball onto plastic wrap and form it into a tight ball.
- Using twine, wrap and tie the ball a few times until you have the desired amount of grooves. Make sure to knot the twine tightly so that it actually creases the cheese ball. (See video for more help!)
- Refrigerate for a few hours, or overnight.
- Untie the twine and unwrap the plastic wrap. Cut the stem from the pepper and stick onto the top of the pumpkin.
- Enjoy with crackers or tortilla chips!
Notes
*Shop ingredients and decor above

Peanut Butter Spider Cookies
Equipment
- cookie sheet
- Microwave safe bowl
- Piping bag or ziplock bag
Ingredients
- Ingredients:
- 1 package peanut butter cookie mix plus the ingredients listed on the package such as eggs, oil, and water
- Mini Reese’s peanut butter cups unwrapped
- edible eyes
- 1/2 cup chocolate chips
Instructions
- Prepare the peanut butter cookies according to package instructions.
- Chill cookie dough for 10-20 minutes.
- Place on prepared cookie sheets and bake for 10-12 minutes.
- Let the cookies cool for a few minutes.
- Using chocolate icing or melted chocolate, “glue” the peanut butter cup to the center of each cookie.
- Using chocolate icing or melted chocolate, "glue" the back of the edible eyes onto the front of the peanut butter cups. Then draw eight legs on each spider cookie. Let the chocolate on the cookies harden for about 20 minutes.
- Enjoy!
*Shop ingredients and decor above
Sugar Cookies
Equipment
- Cookie cutters
- Parchment paper
- cookie sheet
- Drying racks
Ingredients
- 1 roll of refrigerated sugar cookie dough or homemade refrigerated sugar cookie dough
- 3 oz cream cheese softened
- 1/2 cup all-purpose flour
Instructions
- Pre-heat oven to 350 degrees and lightly grease cookie sheet or use parchment paper.
- Mix cream cheese and flour into the dough.
- Roll the dough on parchment paper sprinkled with flour, and cut into shapes using cookie cutters.
- Gently transfer shapes onto cookie sheet, 2 inches apart.
- Bake for around 11 minutes or until the edges are golden brown.
- Allow cookies to cool for 2 minutes before gently transferring to a baking rack.
- Let the cookies fully cool before frosting.
*Shop ingredients and decor above
Perfect Buttercream Frosting for Icing
Equipment
- Stand mixer
- Sifter
- Piping bags or frosting bulbs for icing
Ingredients
- 4 cups of unsalted butter room temperature
- 9 cups of powdered sugar
- 1/2 teaspoon fine salt
- 8 tsp vanilla extract
- 8 tablespoons of heavy cream or whole milk
- Food dye of choice
Instructions
- In a stand mixer with a whisk attachment, beat butter on high speed for 5 minutes – or until whipped and light in color. Scrape the bowl down throughout, as needed, with the mixer turned off.
- Meanwhile, sift the powdered sugar (optional, but best results).
- Reduce mixer speed to medium low, slowly add the sifted powdered sugar.
- Beat until fully mixed, scraping the bowl as needed.
- Add salt, vanilla extract; beat until fully incorporated.
- Slowly add heavy cream until you reach desired consistency.
- Separate icing and mix in colors, if desired. Using the stand mixer to mix the colors is easiest, but can also mix by hand.
Notes
*Shop ingredients and decor above

S’mores Dip
Ingredients
- Chocolate I used 4 Ghirardeli semi-sweet chocolate squares for each 16 oz. ramekin
- Marshmallows I used jumbo Jet Puffed marshmallows
- Graham crackers for dipping I used Honey Maid
Instructions
- Bake chocolate bar pieces in the oven at 375 degrees for 8 minutes
- Add a layer of marshmallows and bake for 6-8 more minutes.
- Serve right away!
Notes
*Shop ingredients and decor above

Easy Halloween Cookies
Equipment
- cookie sheet
Ingredients
- Chocolate chip cookie dough
- Pillsbury Halloween sugar cookies
Instructions
- At 350 degrees, bake chocolate chip cookie dough for 4 minutes.
- Gently press the Pillsbury Halloween sugar cookies into chocolate chip cookies.
- Bake for 10 more minutes.
Notes
*Shop ingredients and decor above

Scarecrow Crunch
Ingredients
- 4 c. Corn Chex
- 4 c. Wheat Chex
- 2 c. cinnamon Teddy Grahams
- 1/2 c. 1 stick unsalted butter, melted
- 6 Tbsp. light brown sugar
- 1 tsp. ground cinnamon
- 1 tsp. kosher salt
- 1 tsp. pure vanilla extract
- 2 c. candy corn and/or candy pumpkins
- 2 c. chocolate-covered pretzels
- 2 c. salted sweet potato chips
- 1 c. Reese’s pieces
Instructions
- Preheat oven to 250°. In a large bowl, combine Corn Chex, Wheat Chex, and Teddy Grahams. In a small bowl, mix butter, brown sugar, cinnamon, salt, and vanilla.
- Drizzle about one-third of butter mixture over Chex mixture. Toss to coat, then repeat with remaining butter mixture until every component is coated.
- Divide Chex mixture between 2 unlined rimmed baking sheets; spread in an even layer.
- Bake Chex Mix, tossing every 15 minutes, until toasted and crisp, 30 to 45 minutes.
- Let cool, then mix in candy corn, pretzels, sweet potato chips, and Reese’s pieces.
Notes

Spiderweb Dirt Cups
Ingredients
- One 3.4-ounce box instant chocolate pudding mix
- 1 1/2 cups milk
- 1 1/2 cups heavy whipping cream
- 3 tablespoons black cocoa powder or Dutch-process cocoa powder
- 26 chocolate sandwich cookies such as Oreos, crushed to resemble dirt
- 15 gummy worms
- 20 candy eyeballs
- 1/2 cup white candy melting wafers melted
- Crushed ice
- 6 sugar-coated gummy bears
Instructions
- Whisk together the instant pudding mix and milk in a large bowl until smooth. Let sit until slightly set, 5 minutes.
- Whip the cream in another large bowl with an electric mixer on medium-high speed until soft peaks form, about 2 minutes. Add the cocoa powder and mix on high speed until stiff peaks form, about 1 minute. Transfer one-third of the whipped cream to the pudding and whisk until fully incorporated, then carefully fold in the remaining whipped cream with a rubber spatula.
- Divide half of the pudding mixture among 6 clear cups or glasses (each 9 fluid ounces), filling them about halfway. Top each cup with 1 heaping tablespoon of the crushed cookies, then nestle 2 or 3 gummy worms and 3 or 4 candy eyeballs into the “dirt,” against the side of the cup so they are visible. Layer each cup with another heaping tablespoon of the crushed cookies and about 1/3 cup of the remaining pudding, then finish with 2 more heaping tablespoons of the crushed cookies. Refrigerate at least 1 hour.
- Line a baking sheet with kitchen towels. To make the spiderwebs, fill a large bowl with crushed ice and a small amount of water. Press the ice down so the surface is as flat as possible. Transfer the melted wafers to a piping bag fitted with a medium round tip (or a resealable plastic bag with one corner snipped off). Pipe into the ice bath 4 intersecting lines to create a 3-inch asterisk, then pipe a circle just inside the asterisk and a smaller circle inside the first circle. Let the spiderweb set for 10 to 15 seconds then gently transfer to the prepared baking sheet. Repeat to make 8 spiderwebs; since they are fragile it is good to have a couple extra.
- To make the spiders, arrange the gummy bears flat-side up. Use kitchen shears to snip 3 narrow triangles out of each short end, creating 4 legs on both sides of each spider.
- Place a spiderweb on each dirt cup then top with a gummy spider. Serve cold.

Pretzel Spider Webs
Ingredients
- 80 pretzel sticks
- 2 cups white candy melting wafers
- 1/2 cup Halloween sprinkles
- Chocolate spiders optional
Instructions
- Line two sheet pans with parchment paper.
- In sets of 8, arrange the pretzel sticks into the spokes of 10 webs, with the centers touching and the outer edges spaced.
- Melt the melting wafers according to the package instructions, approximately 2 minutes in a microwave or 3 to 5 minutes over a double boiler. Transfer to a piping bag and cut the tip to create a small hole.
- Pipe a small amount of the melted candy onto the center of each web where the pretzels meet; this will hold the webs together. Then pipe a web pattern by starting in the center and spiraling out to the edges. Go around the outer edges a couple times to create a firm border. Carefully spoon over the sprinkles. Repeat with the remaining webs.
- Place chocolate spiders in the center, if using. Let set 1 hour.
Notes

Melting Witches Bark
Ingredients
- Eight 1-inch strips sour candy belts a mix of color works great
- 8 pretzel sticks
- 4 ounces about 2/3 cup orange candy melting wafers
- 1 teaspoon refined coconut oil
- 8 fudge-covered chocolate sandwich cookies such as Oreos
- 8 cone-shaped corn snacks such as Bugles
- Coarse black sanding sugar or regular sanding sugar
- 8 ounces about 1 1/3 cups green candy melting wafers
- 4 ounces about 2/3 cup black candy melting wafers
- 12 ounces about 2 cups brown candy melting wafers
- 16 candy eyeballs
- Halloween sprinkles for topping
- 8 mini candy pumpkins such as Mellowcreme, for topping, optional
Instructions
- Preheat the oven to 250 degrees F. Line a baking sheet with a silicone baking mat or parchment and set aside.
- Working with 1 strip of candy belt at a time, use sharp kitchen shears to make thin verticals cuts in the candy, leaving a 1/4-inch strip at the top of the candy uncut. It will look like fringe. Wrap the uncut strip of the candy around the tip of a pretzel stick; the 2 ends should overlap slightly. Use your fingers to gently press the candy so that it clings to the pretzel, being careful not to break the pretzel. Fan out the fringe a bit so it resembles a small broom. Repeat with the remaining sour candy and pretzels, making 8 brooms. Set aside.
- Put the orange candy wafers in a small ovensafe ramekin. Bake until the wafers are glossy and begin to melt, 3 to 4 minutes. Give the wafers a good stir; if the mixture isn’t smooth return it to the oven for 30 seconds and stir again. Repeat until smooth, then stir in the coconut oil. Set aside to cool completely, 5 to 10 minutes.
- Arrange the fudge-covered cookies on a plate or small baking sheet and place the ramekin of melted orange candy next to it. Drop a cone-shaped corn snack into the orange candy, then use 2 wooden skewers or chopsticks to turn the snack so it’s completely coated. Lift it out and place it on an empty part of the plate or baking sheet. Sprinkle liberally with sanding sugar. Use your fingers to carefully pick the coated corn snack up by the tip and the bottom and place it pointed-side up onto a cookie. Repeat with the remaining corn snacks and cookies to make 8 witch hats total. Set aside until set, about 15 minutes.
- Meanwhile, divide the green candy wafers into 8 even mounds around the prepared baking sheet spacing them evenly apart. Break 4 of the black candy wafers in half, then place a half on top of each mound of green wafers. In a medium bowl, combine the brown candy wafers and remaining black wafers, then scatter the mix around all sides of the green mounds, creating a rough rectangle. Bake until the wafers are glossy and begin to melt, 3 to 4 minutes. Immediately use a small offset spatula to smooth and spread the green wafers into rough circles. Wipe the offset spatula clean, then spread the black and brown wafers out around the green circles.
- Place 1 witch hat slightly off-center on each green circle, then place 2 candy eyeballs below each hat. Lay a broomstick to the side of the eyes. Scatter the Halloween sprinkles on top of the black and brown melting candies. Arrange the candy pumpkins on top if using. Set aside until the bark is solid, about 1 hour. Break apart and serve.
Notes
More Fall Essentials
Halloween Mocktail

You might also like